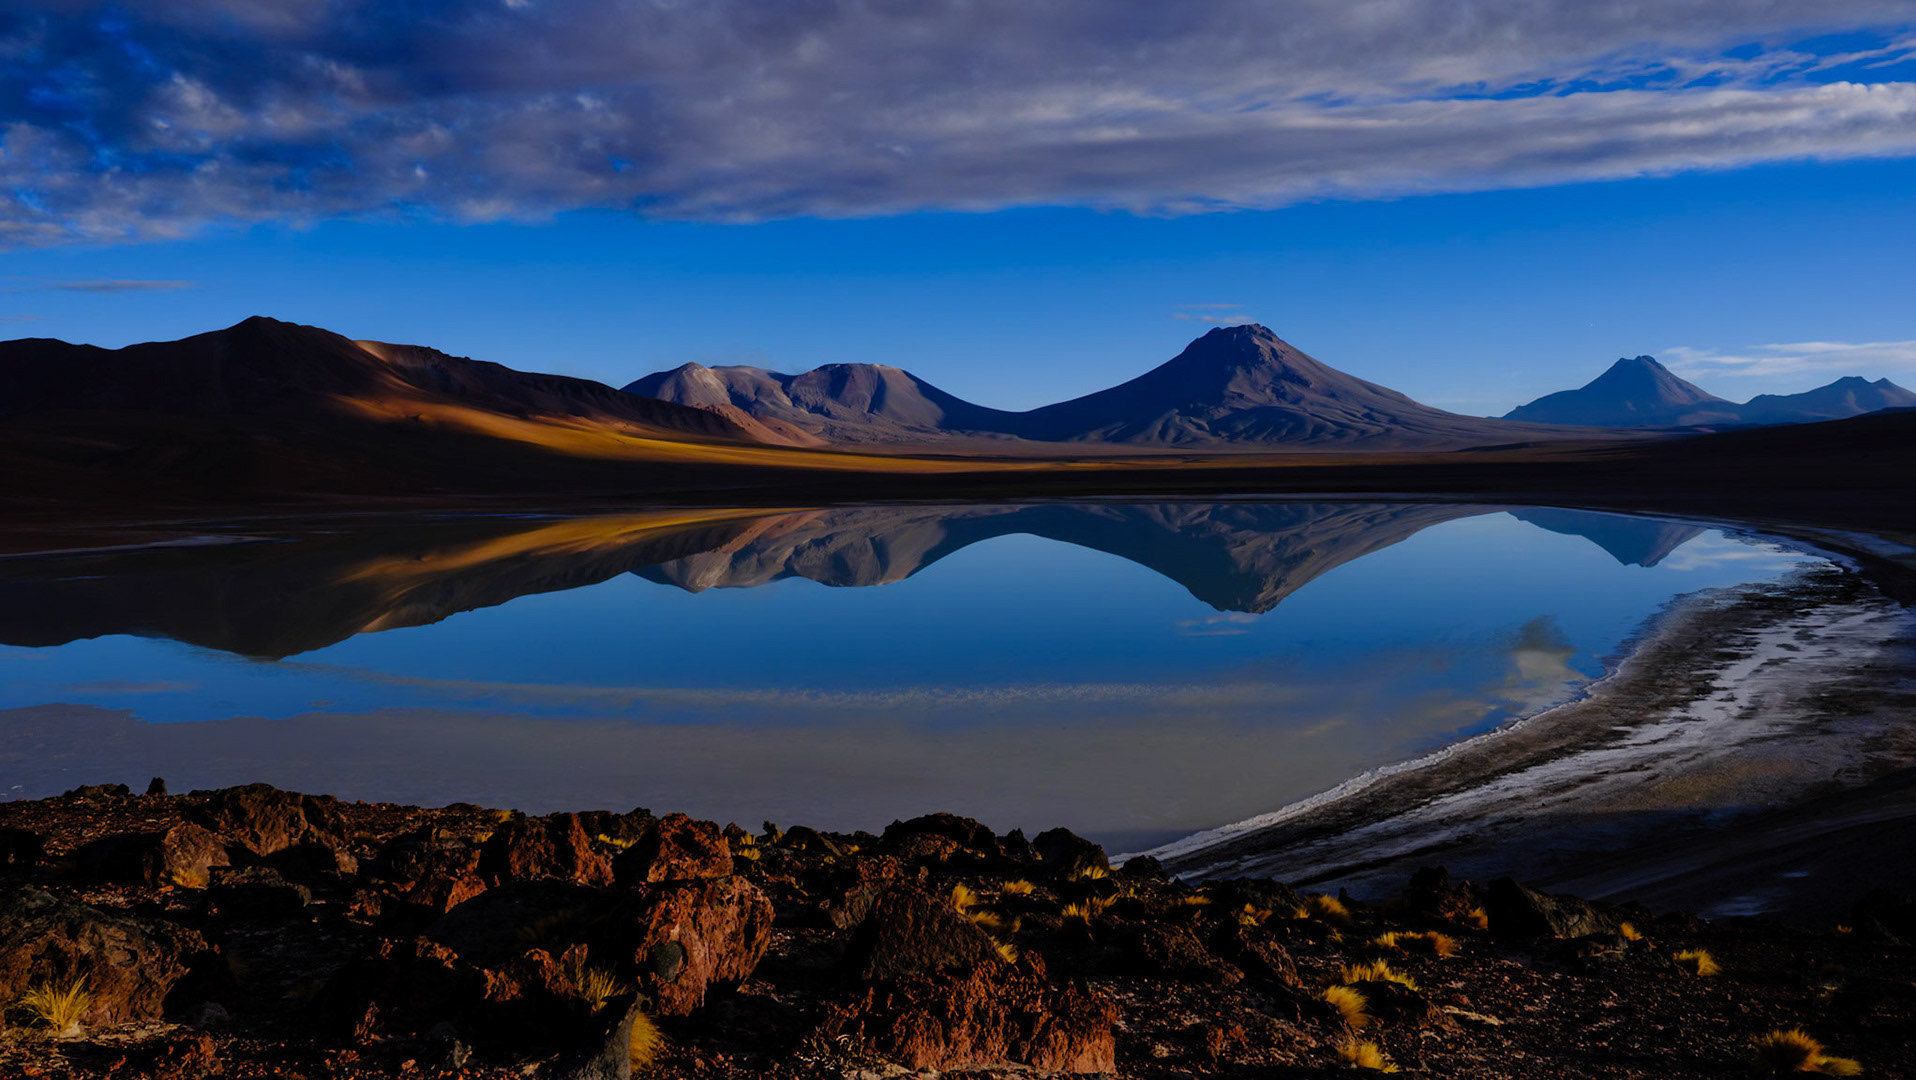
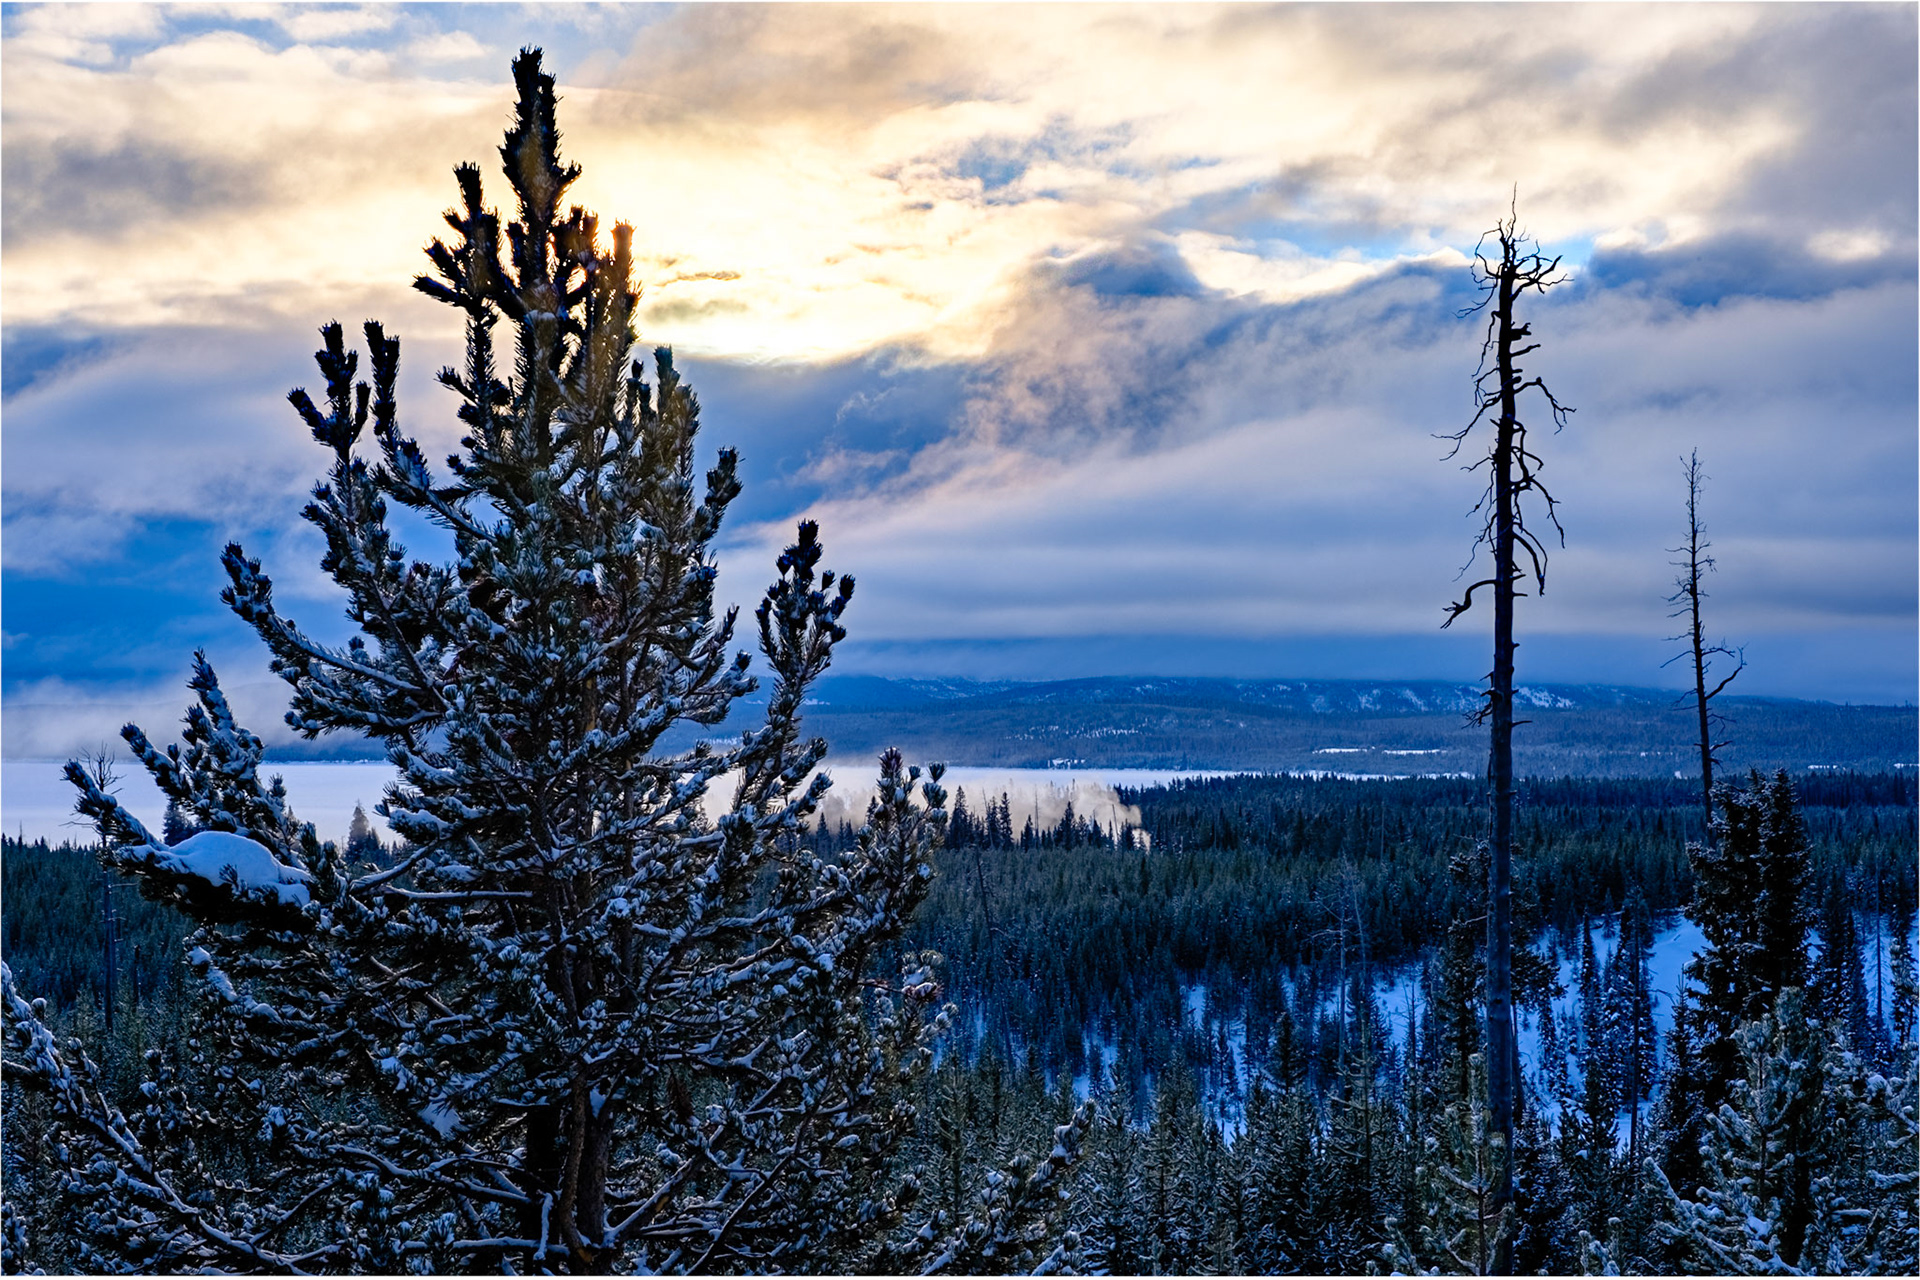
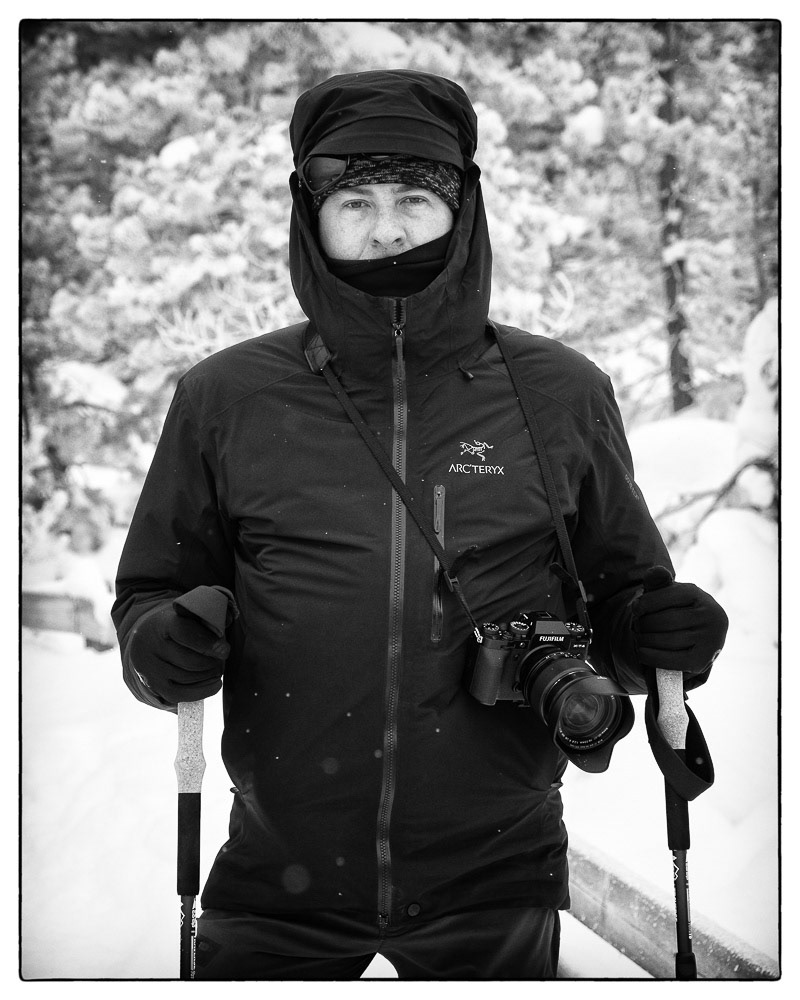
Photo Credit: Michael S Miller
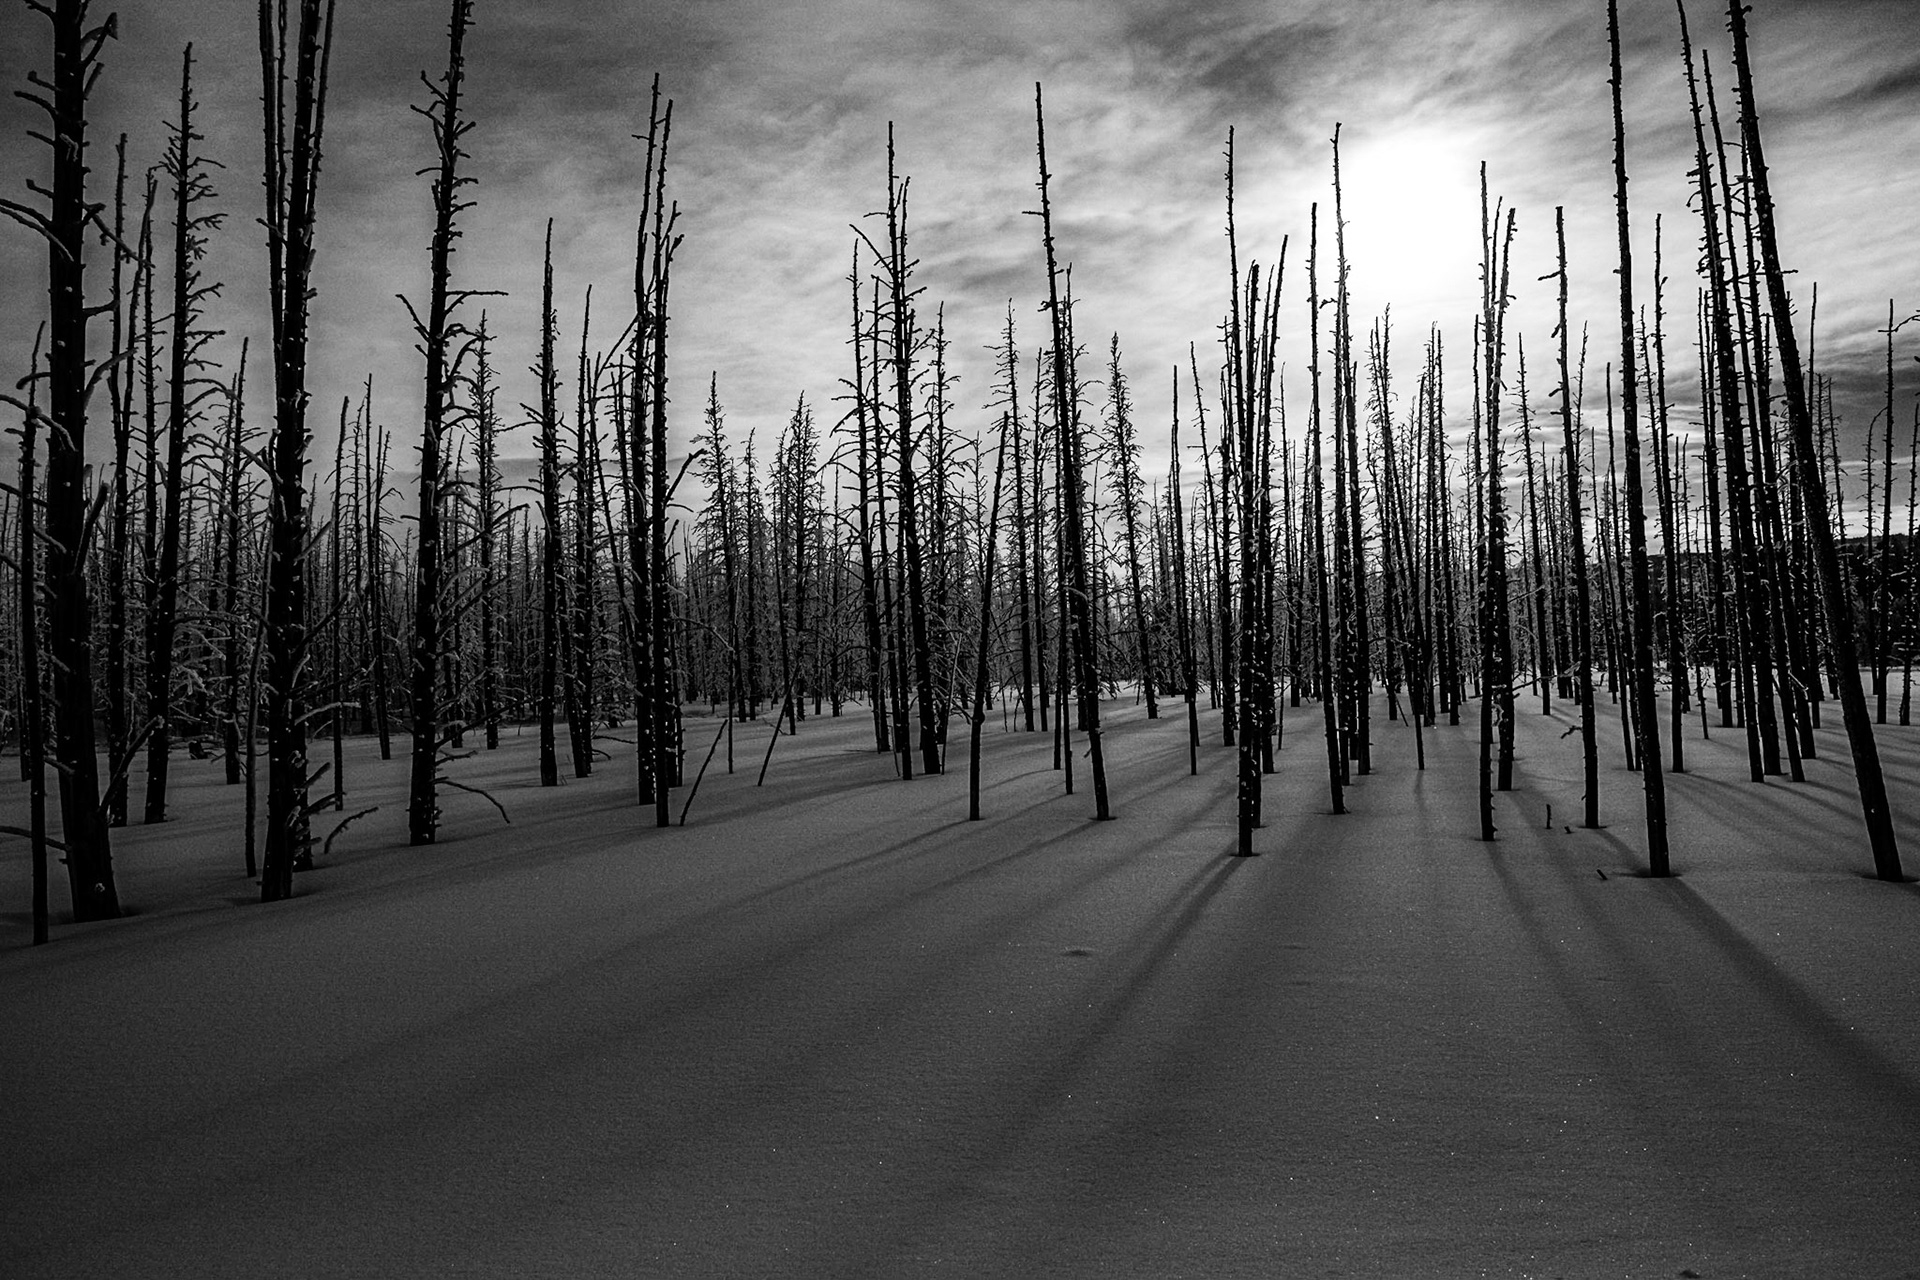

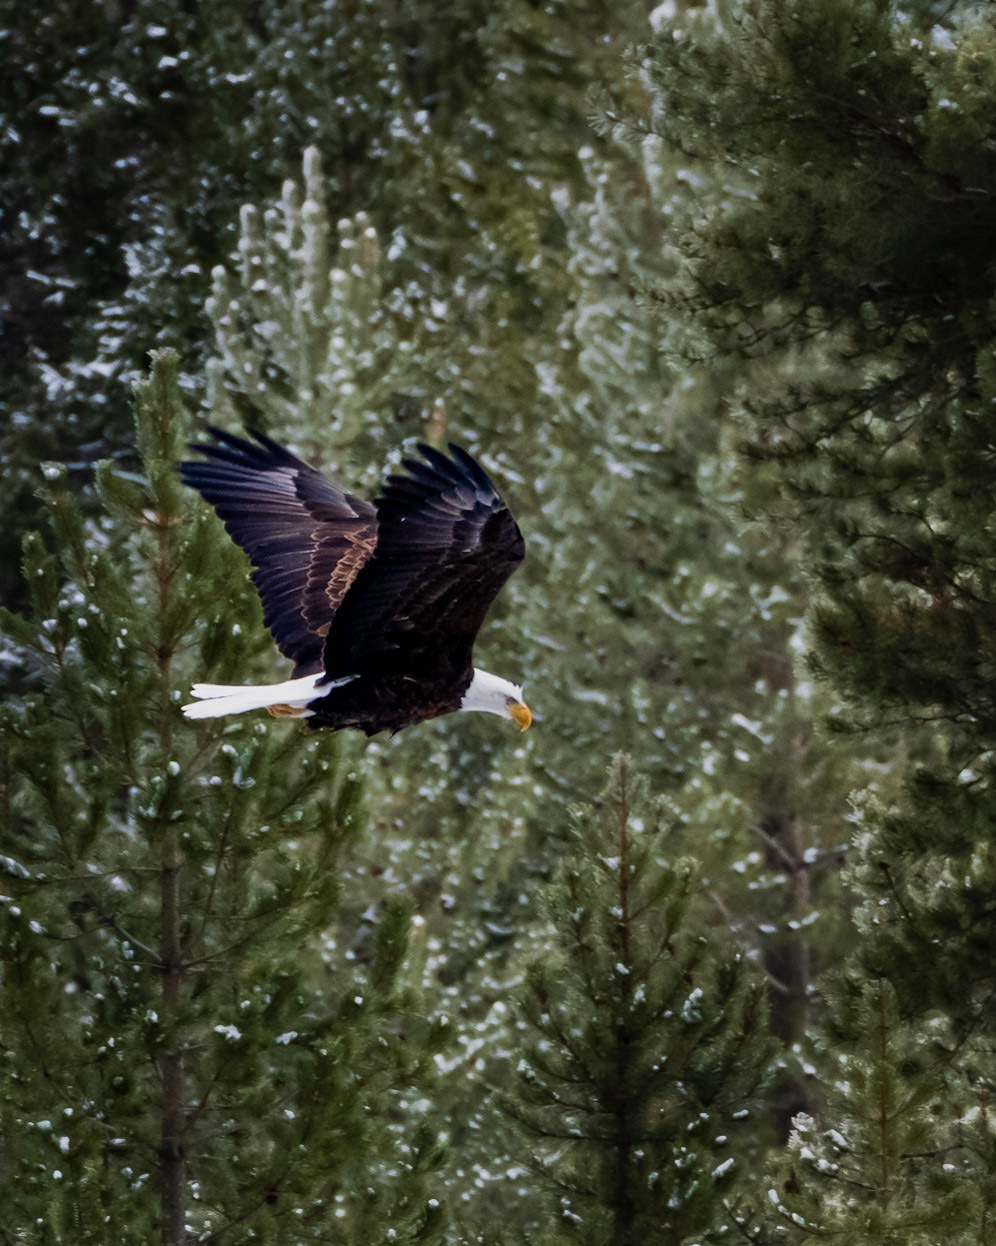
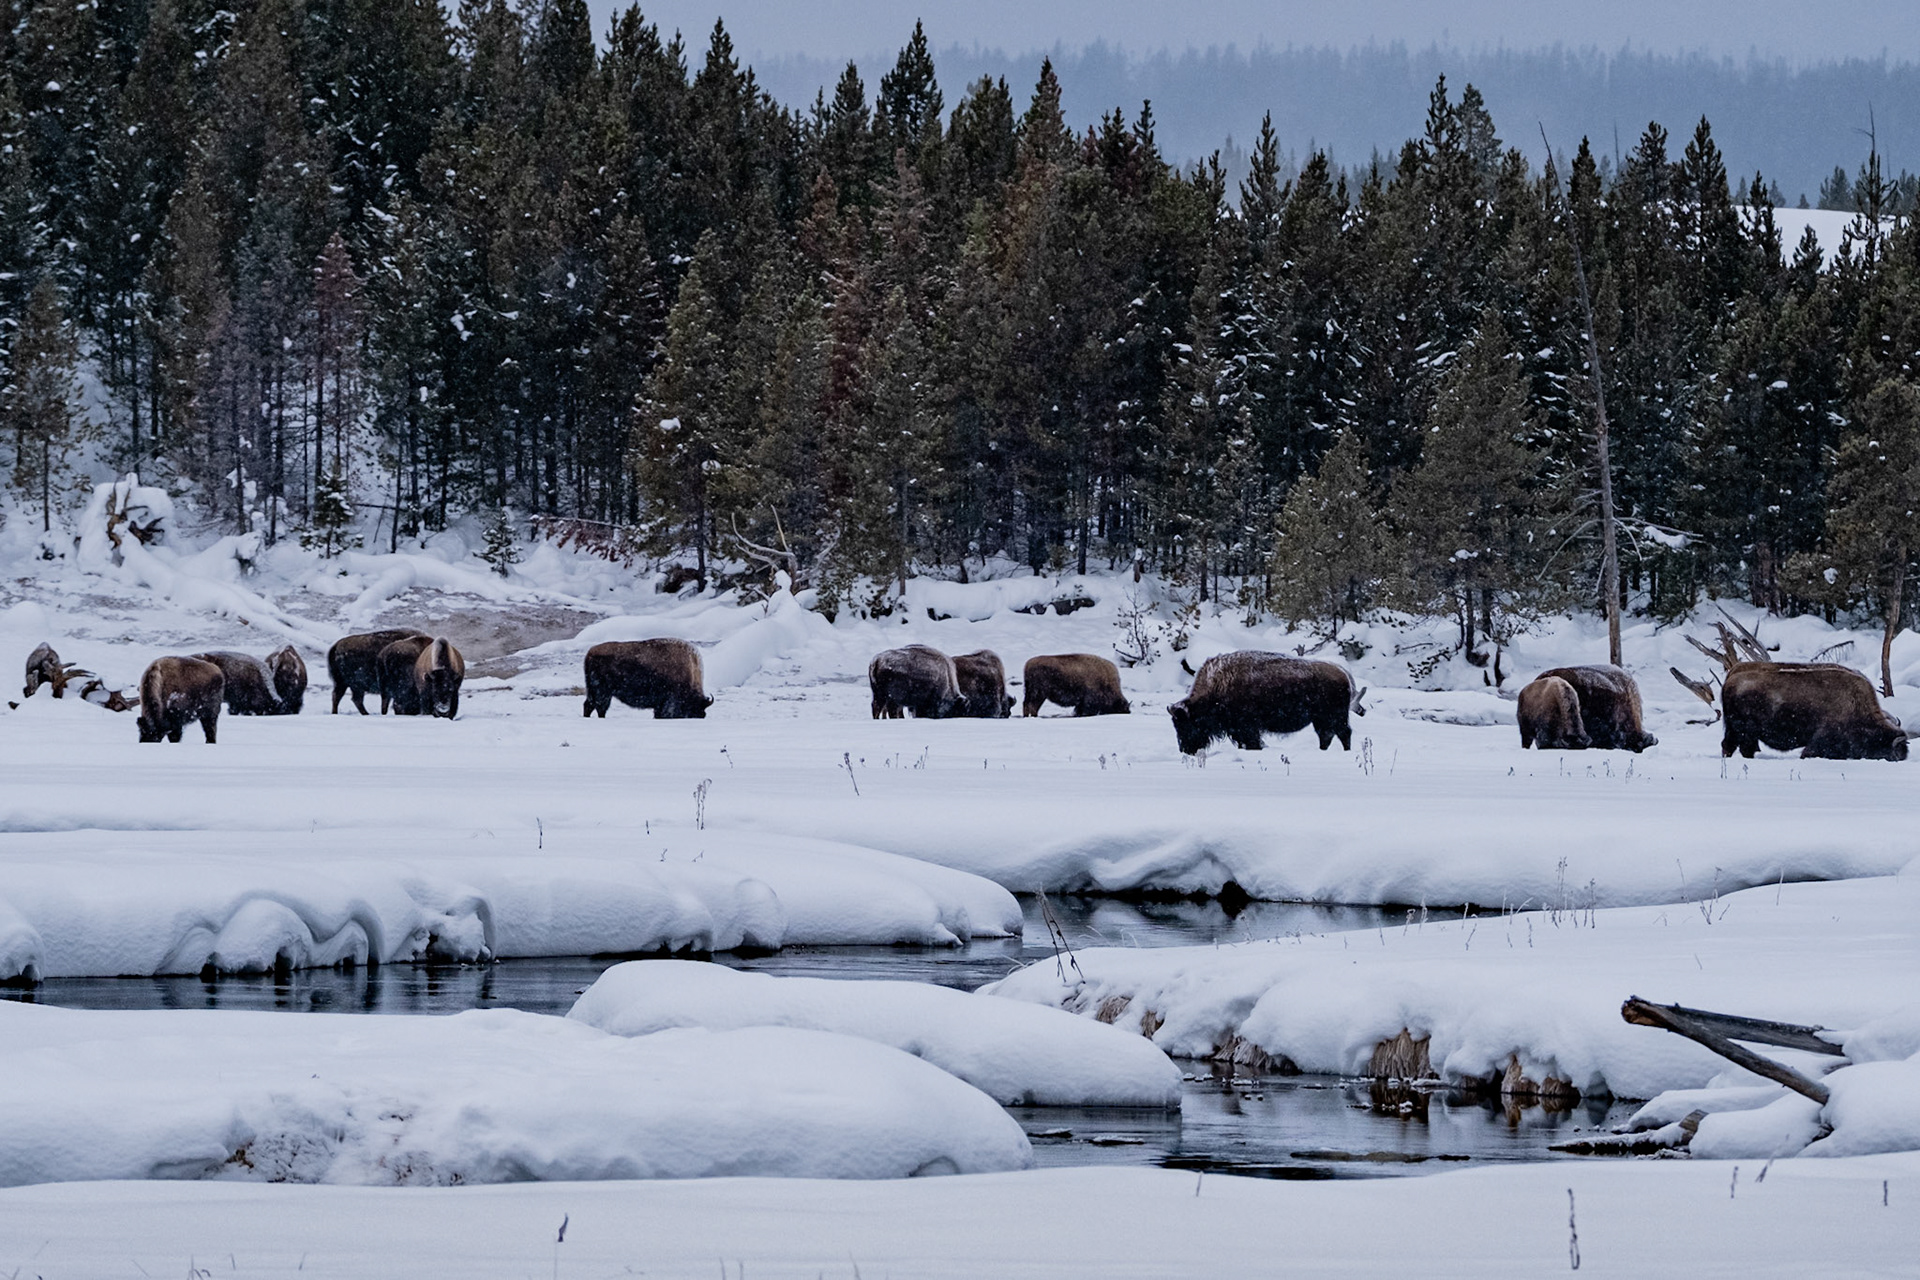
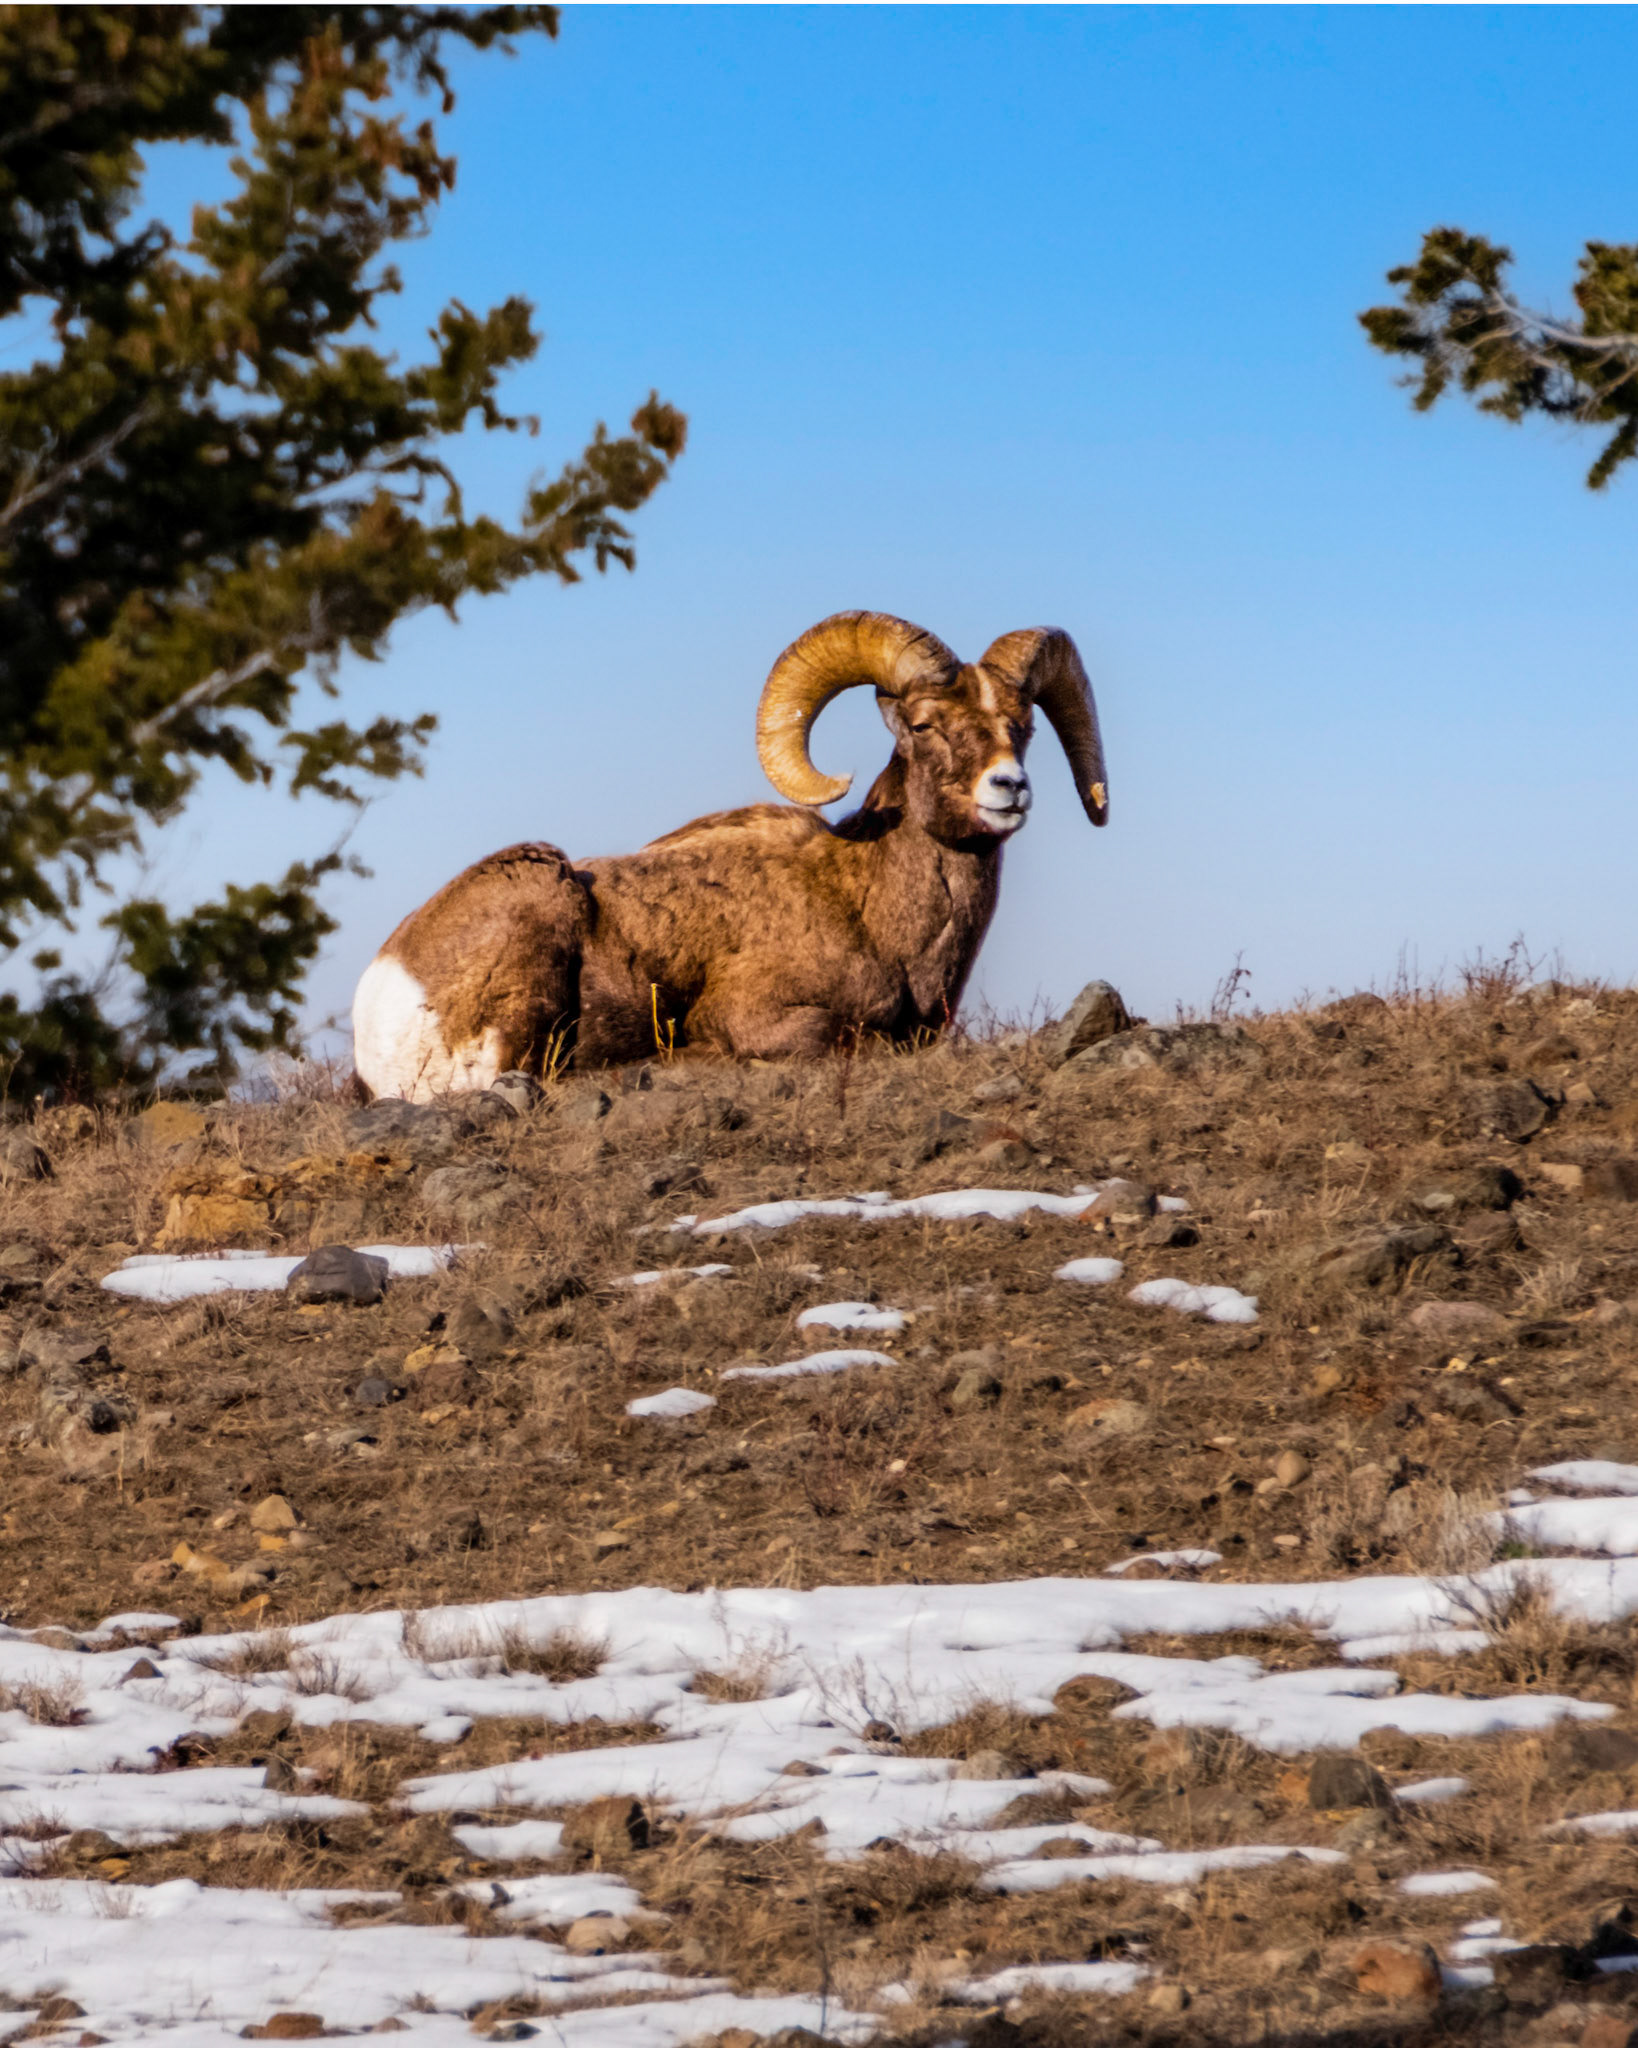
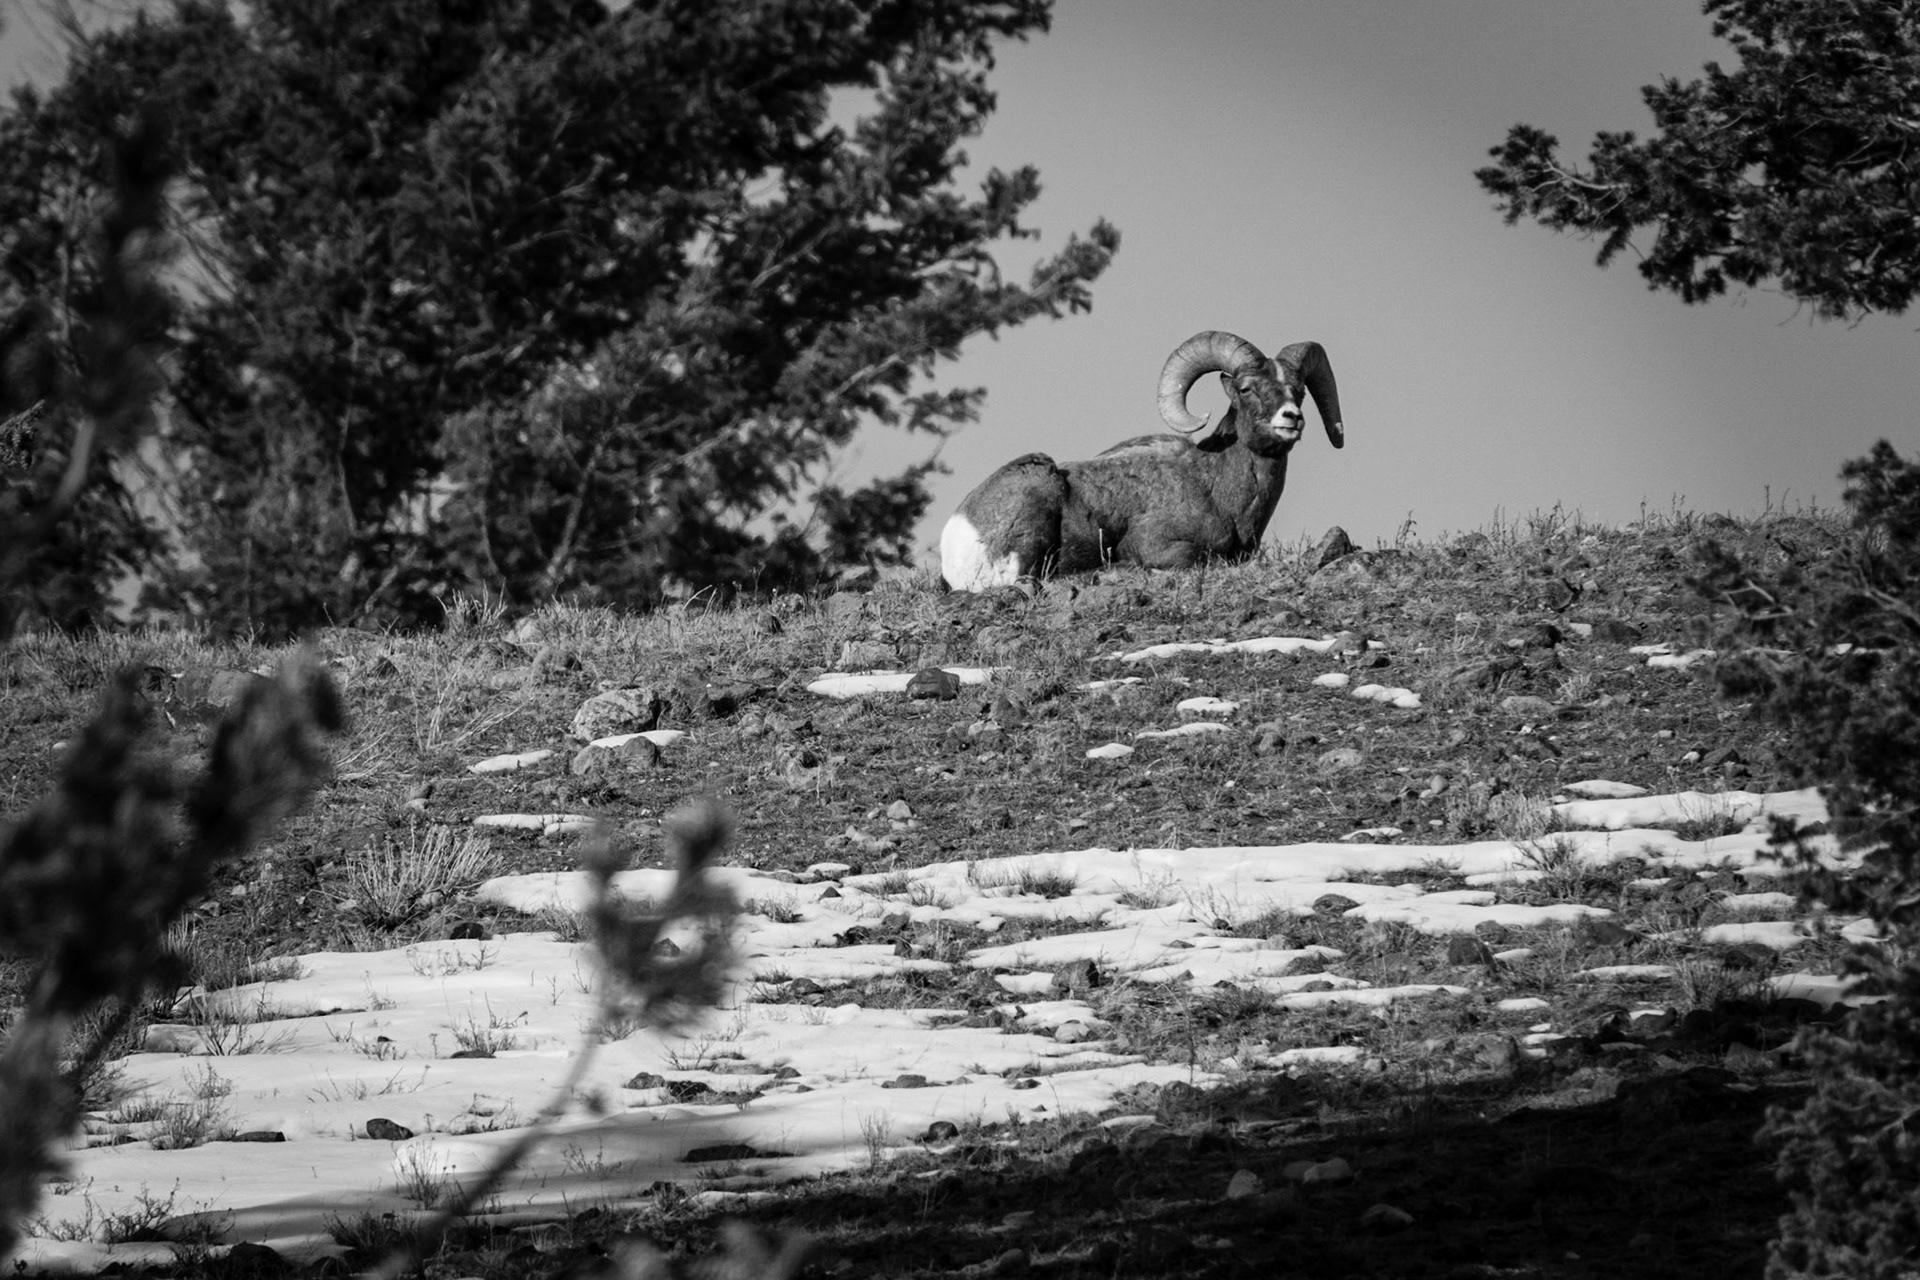

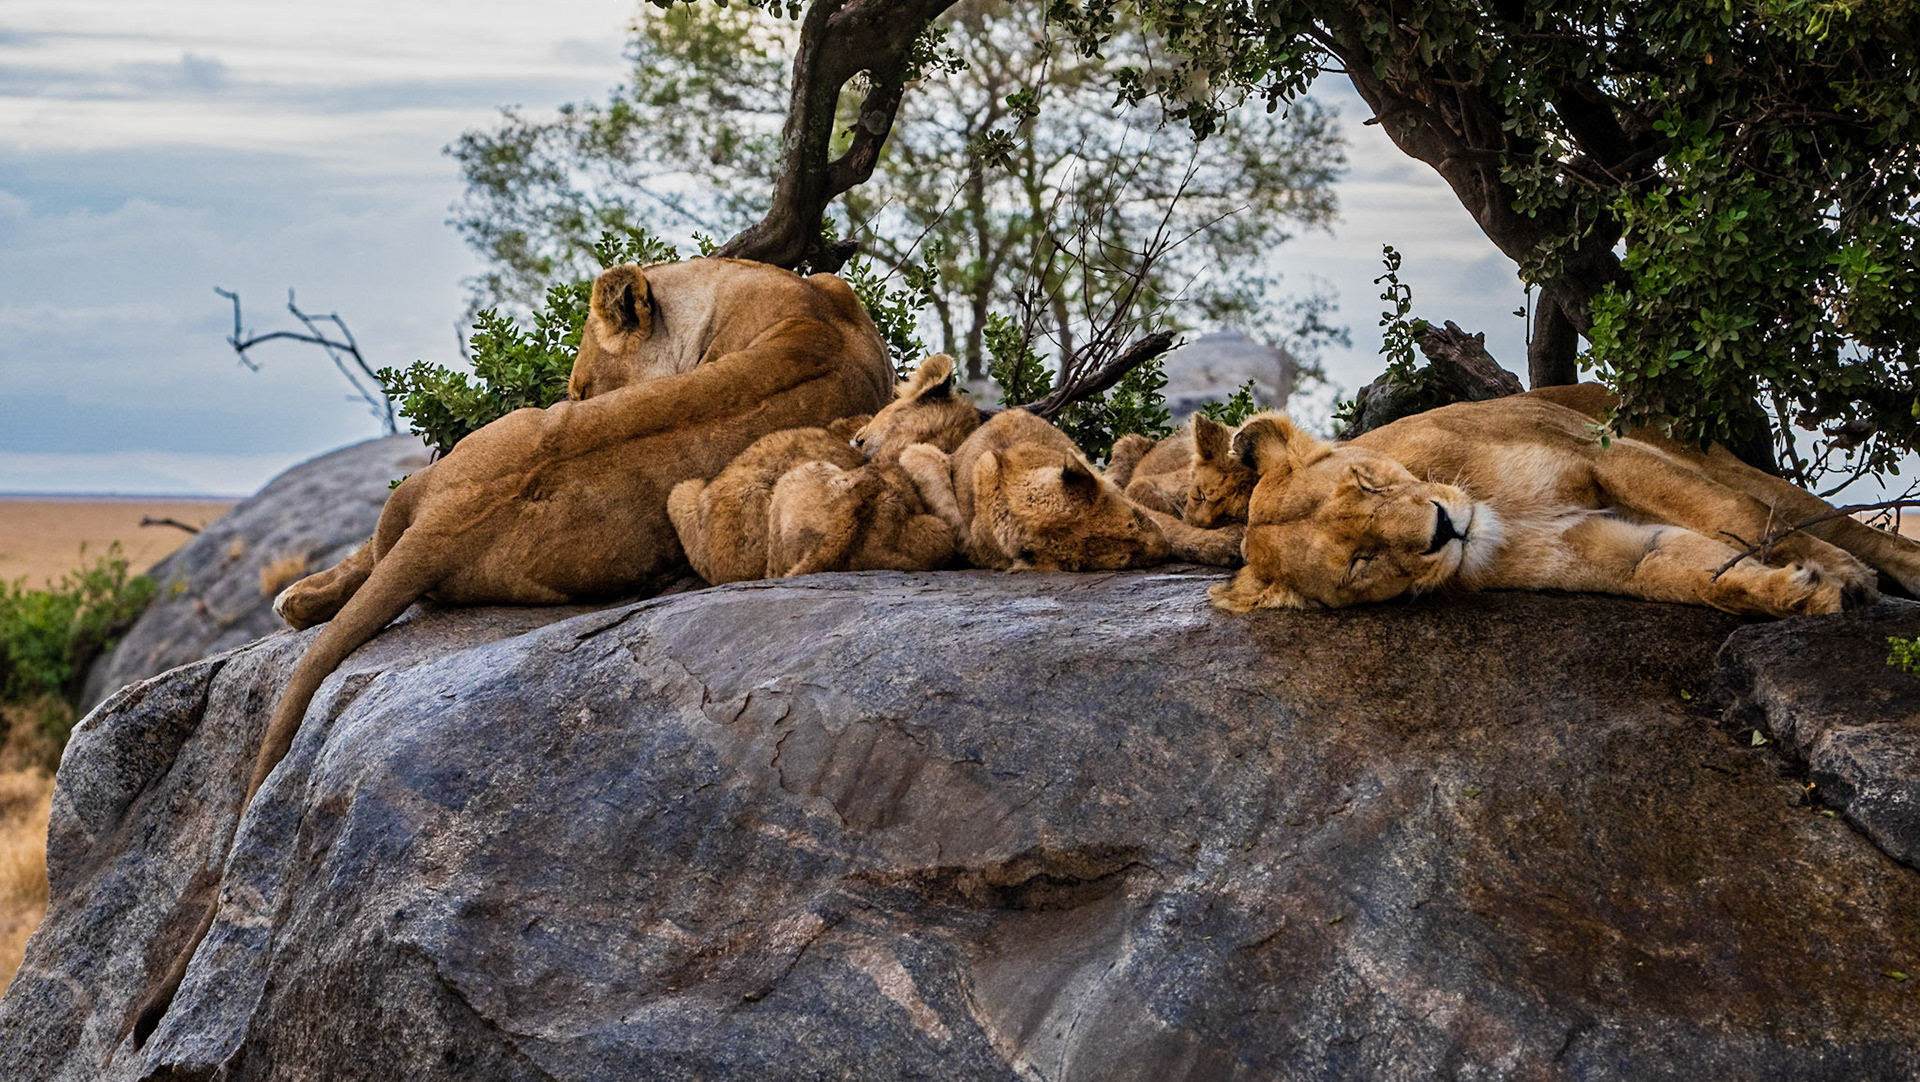
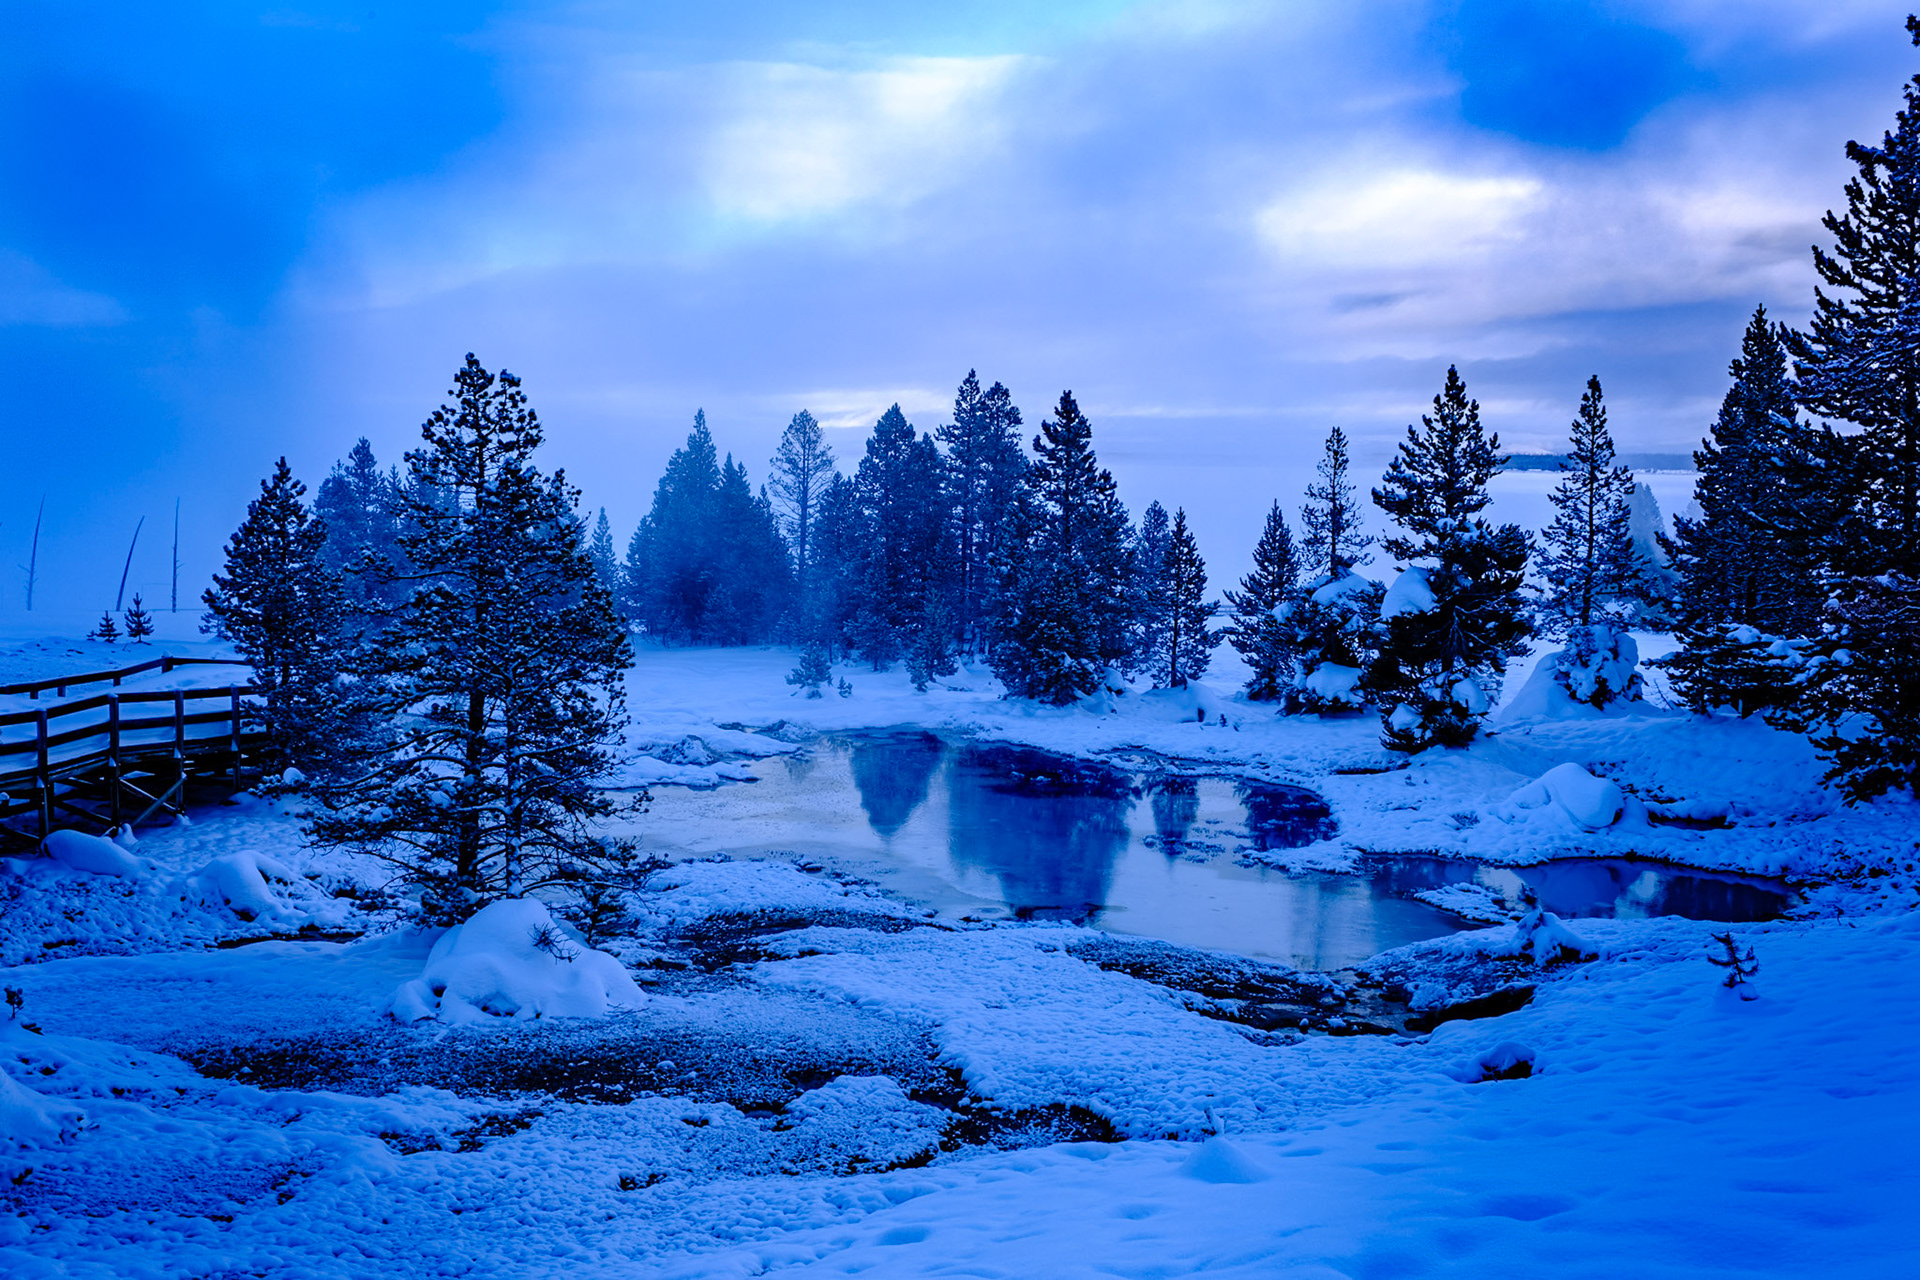
Photo Credit: Michael S Miller
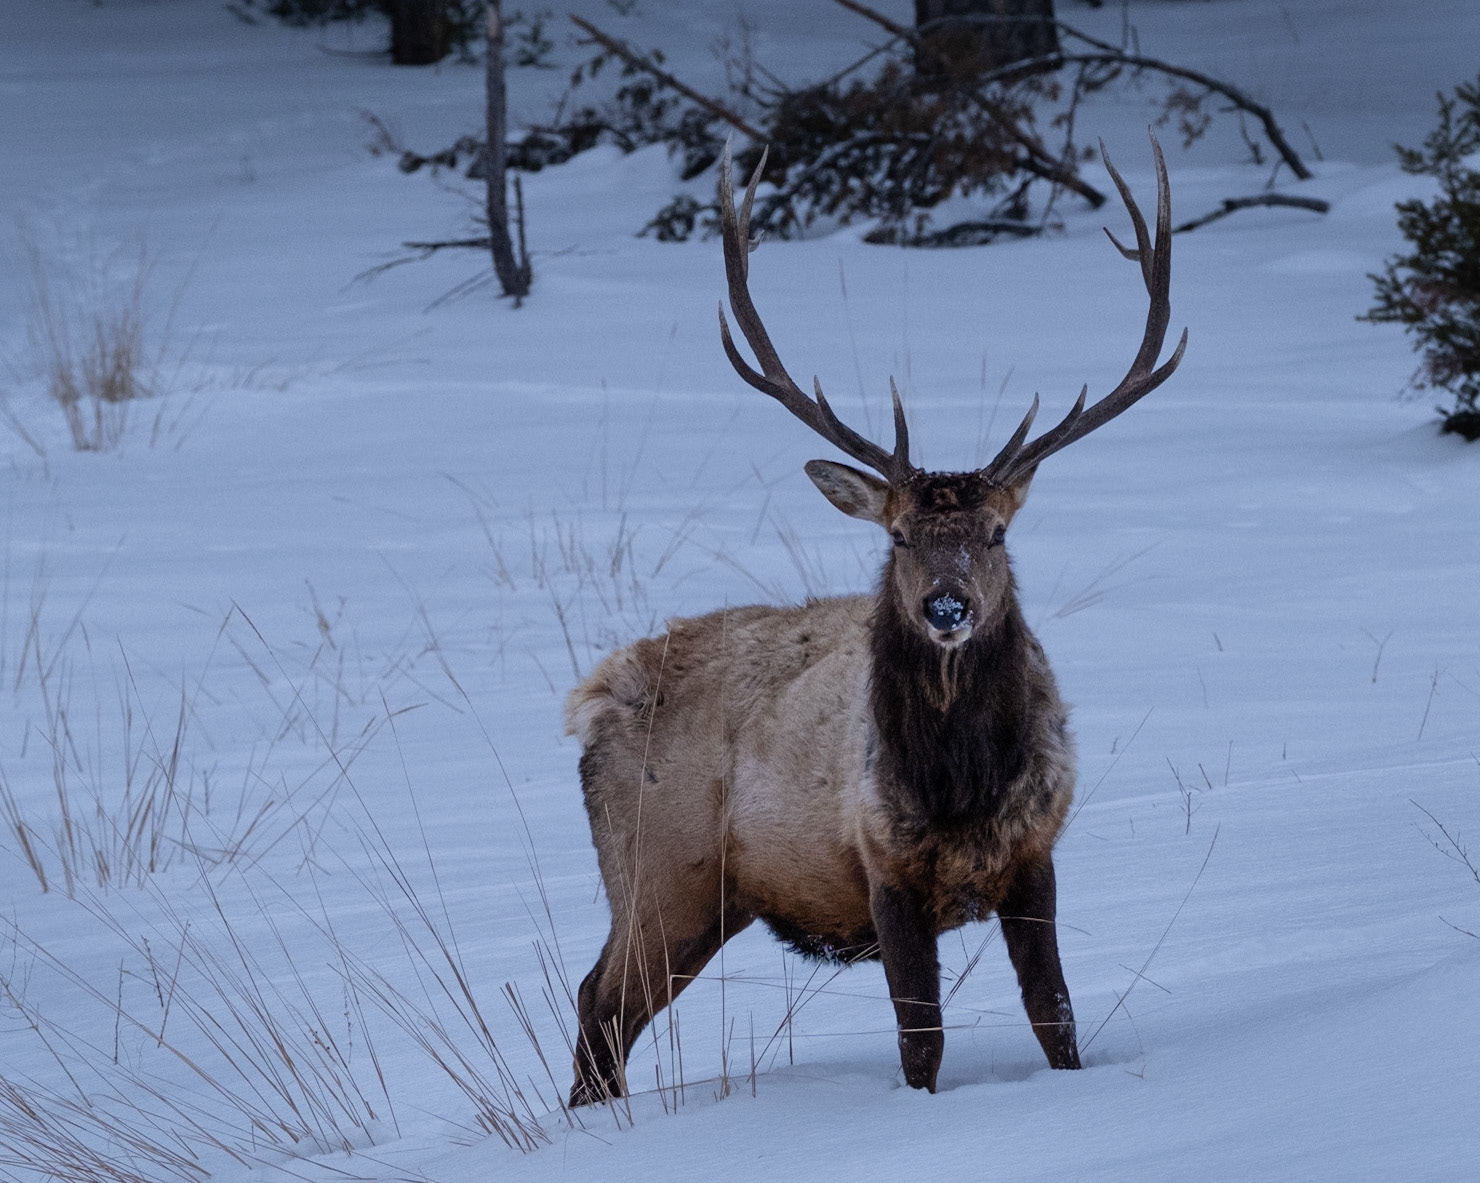
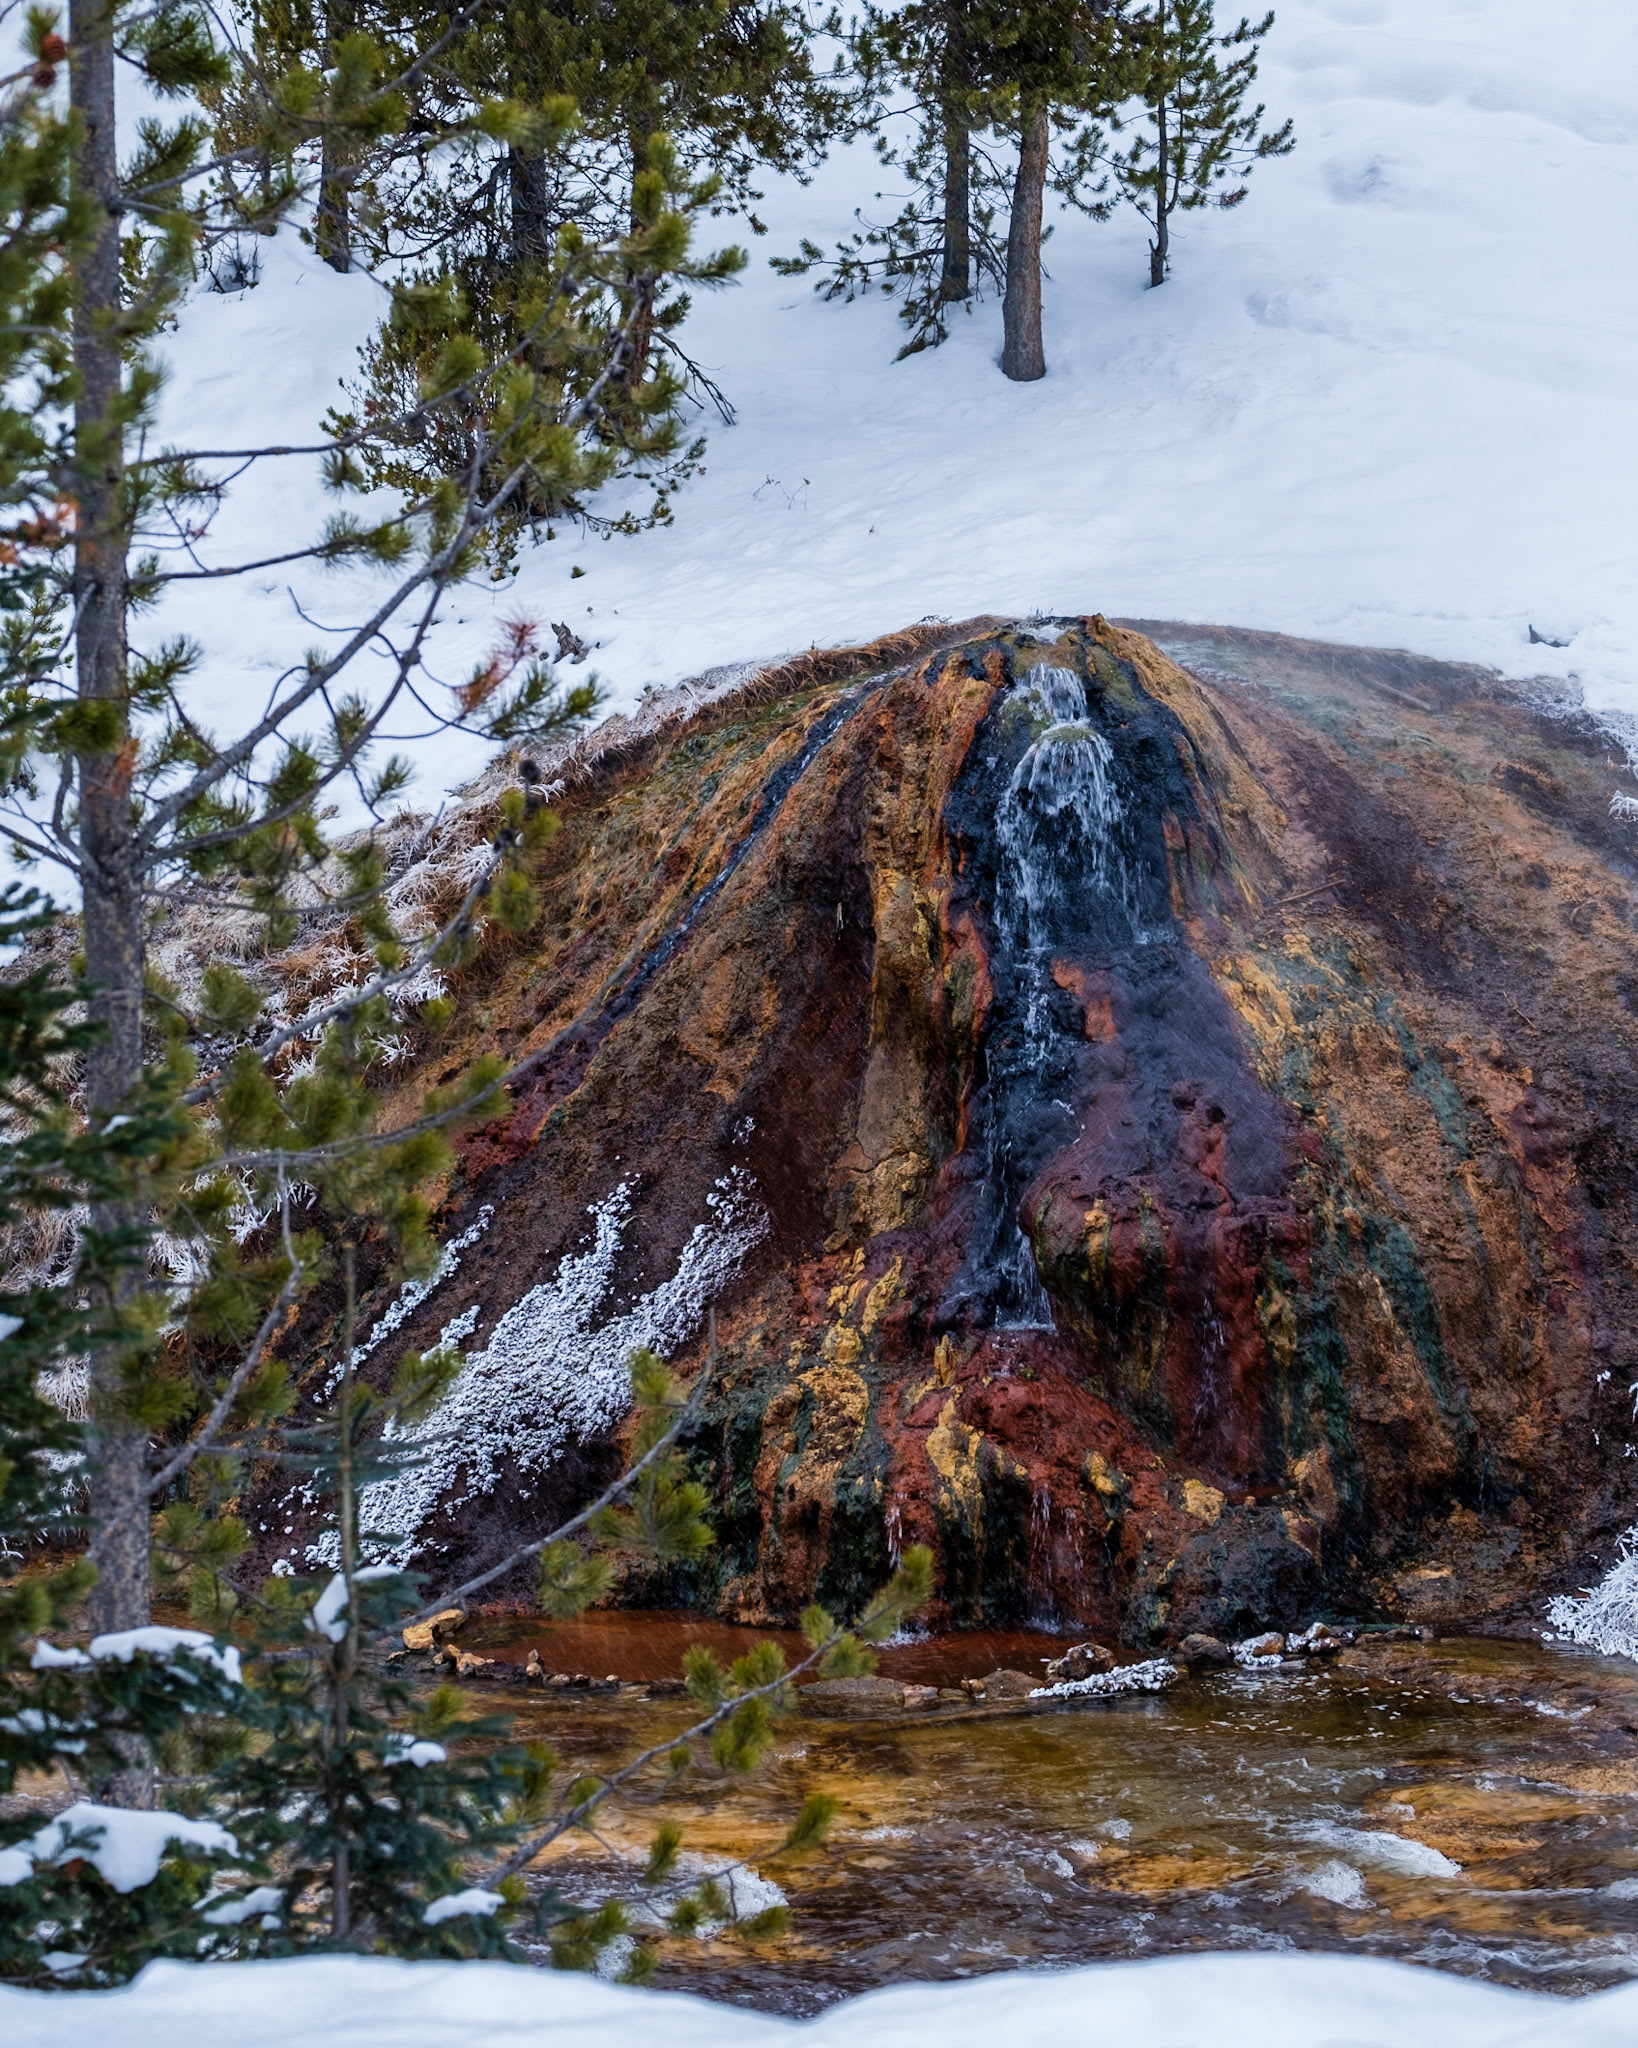
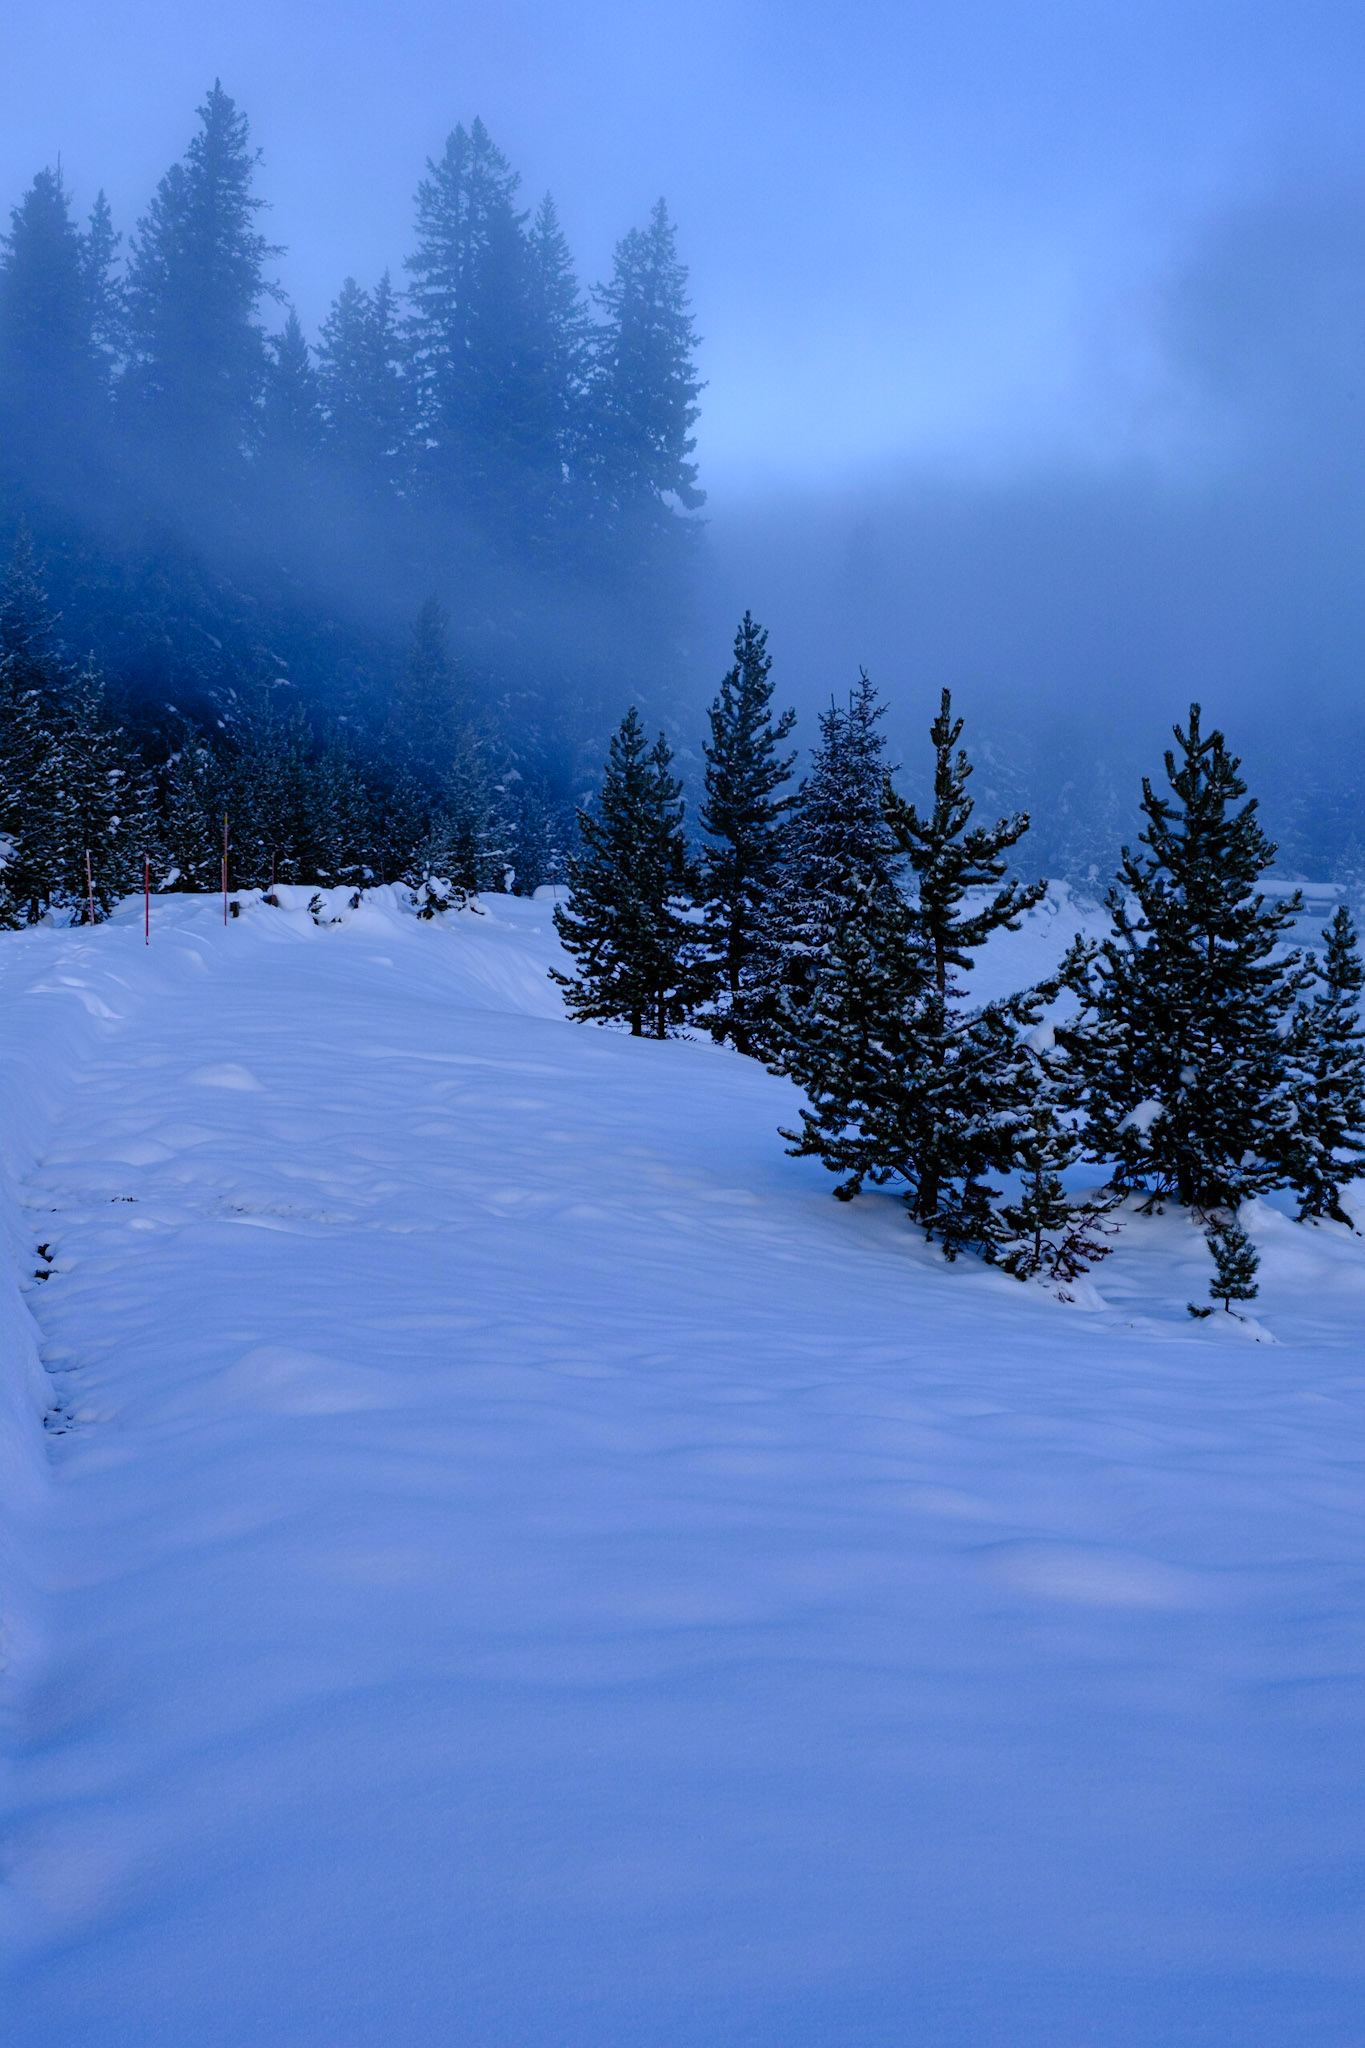
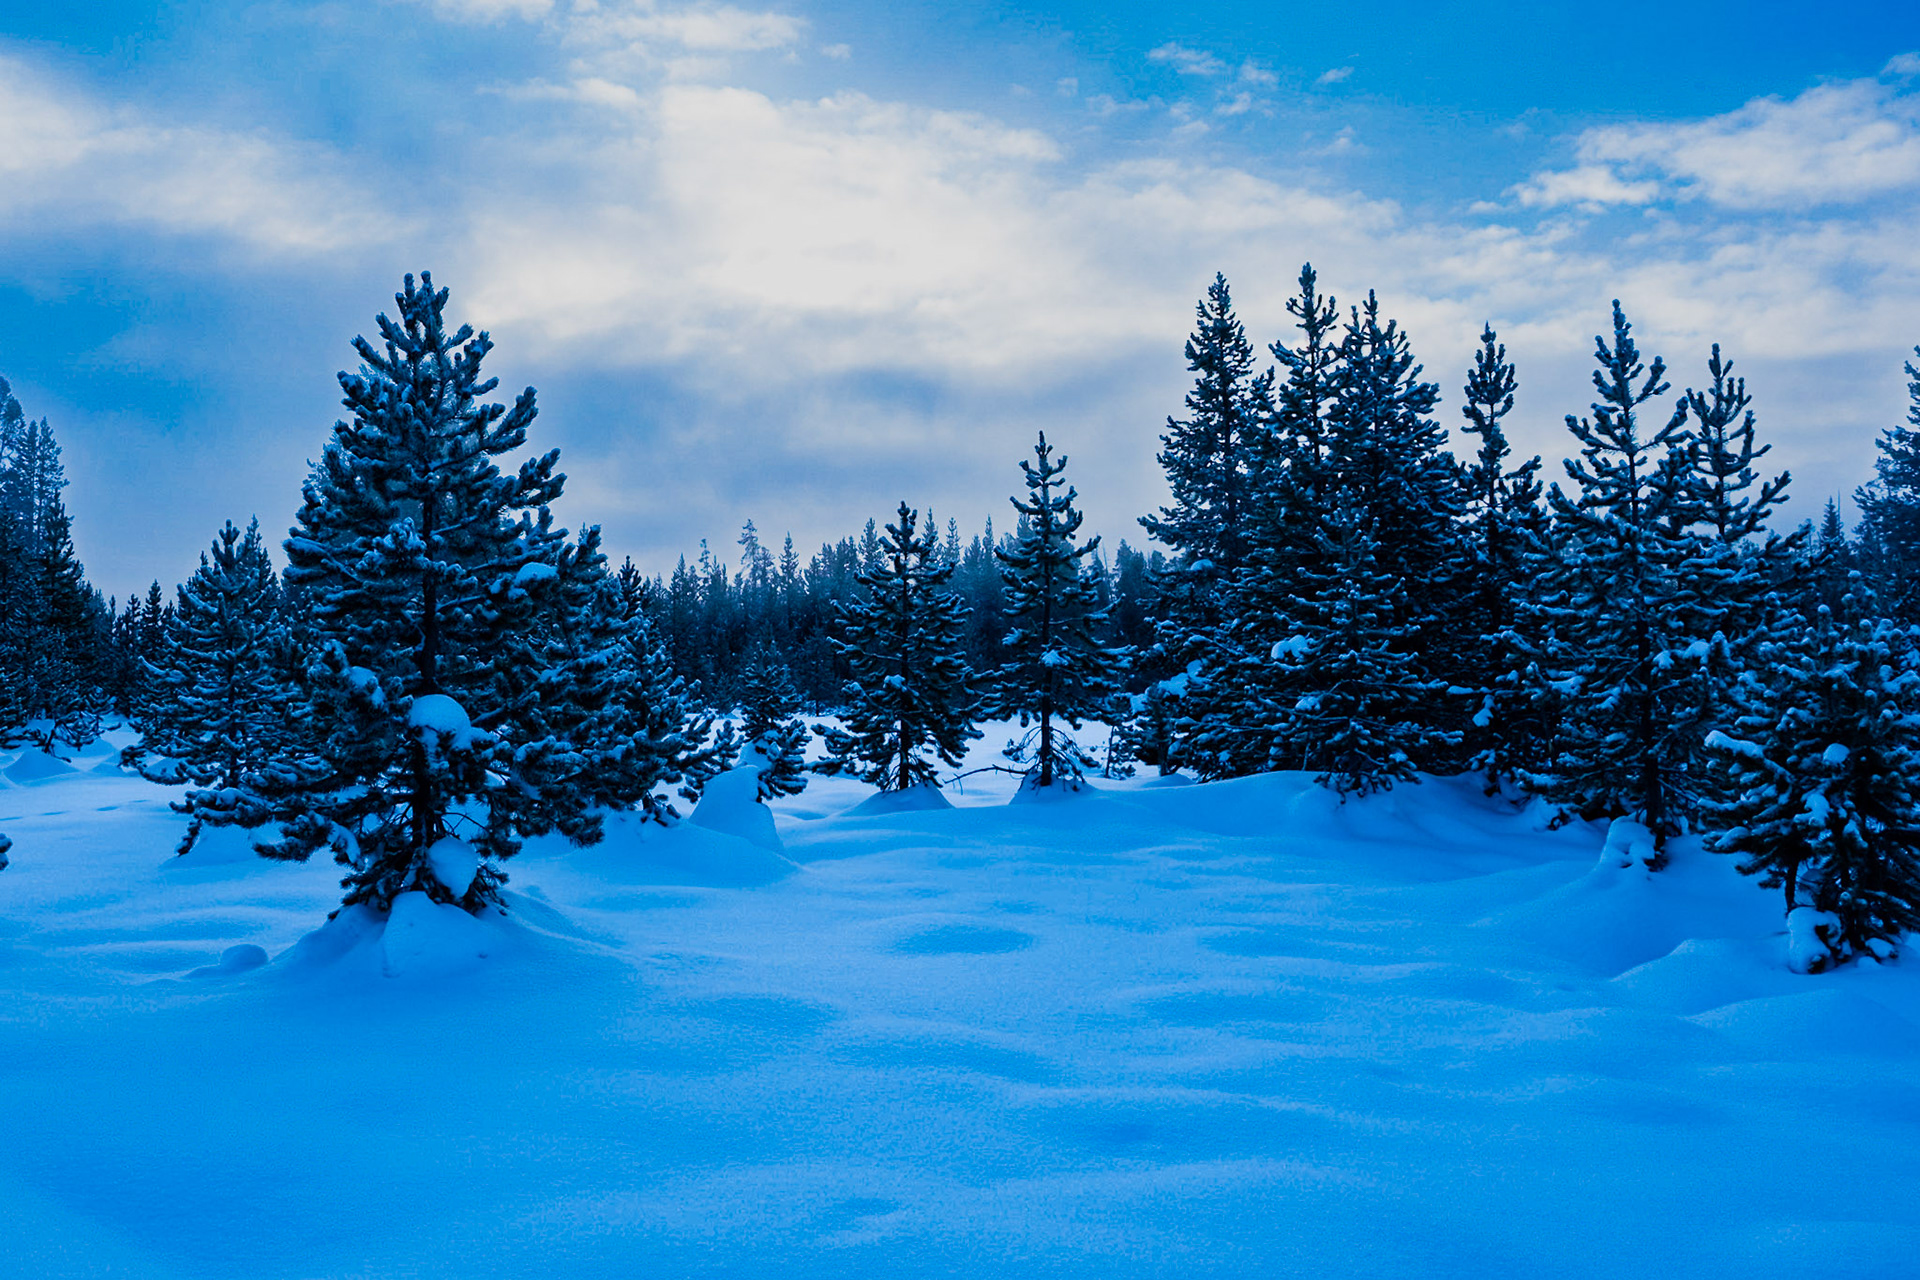
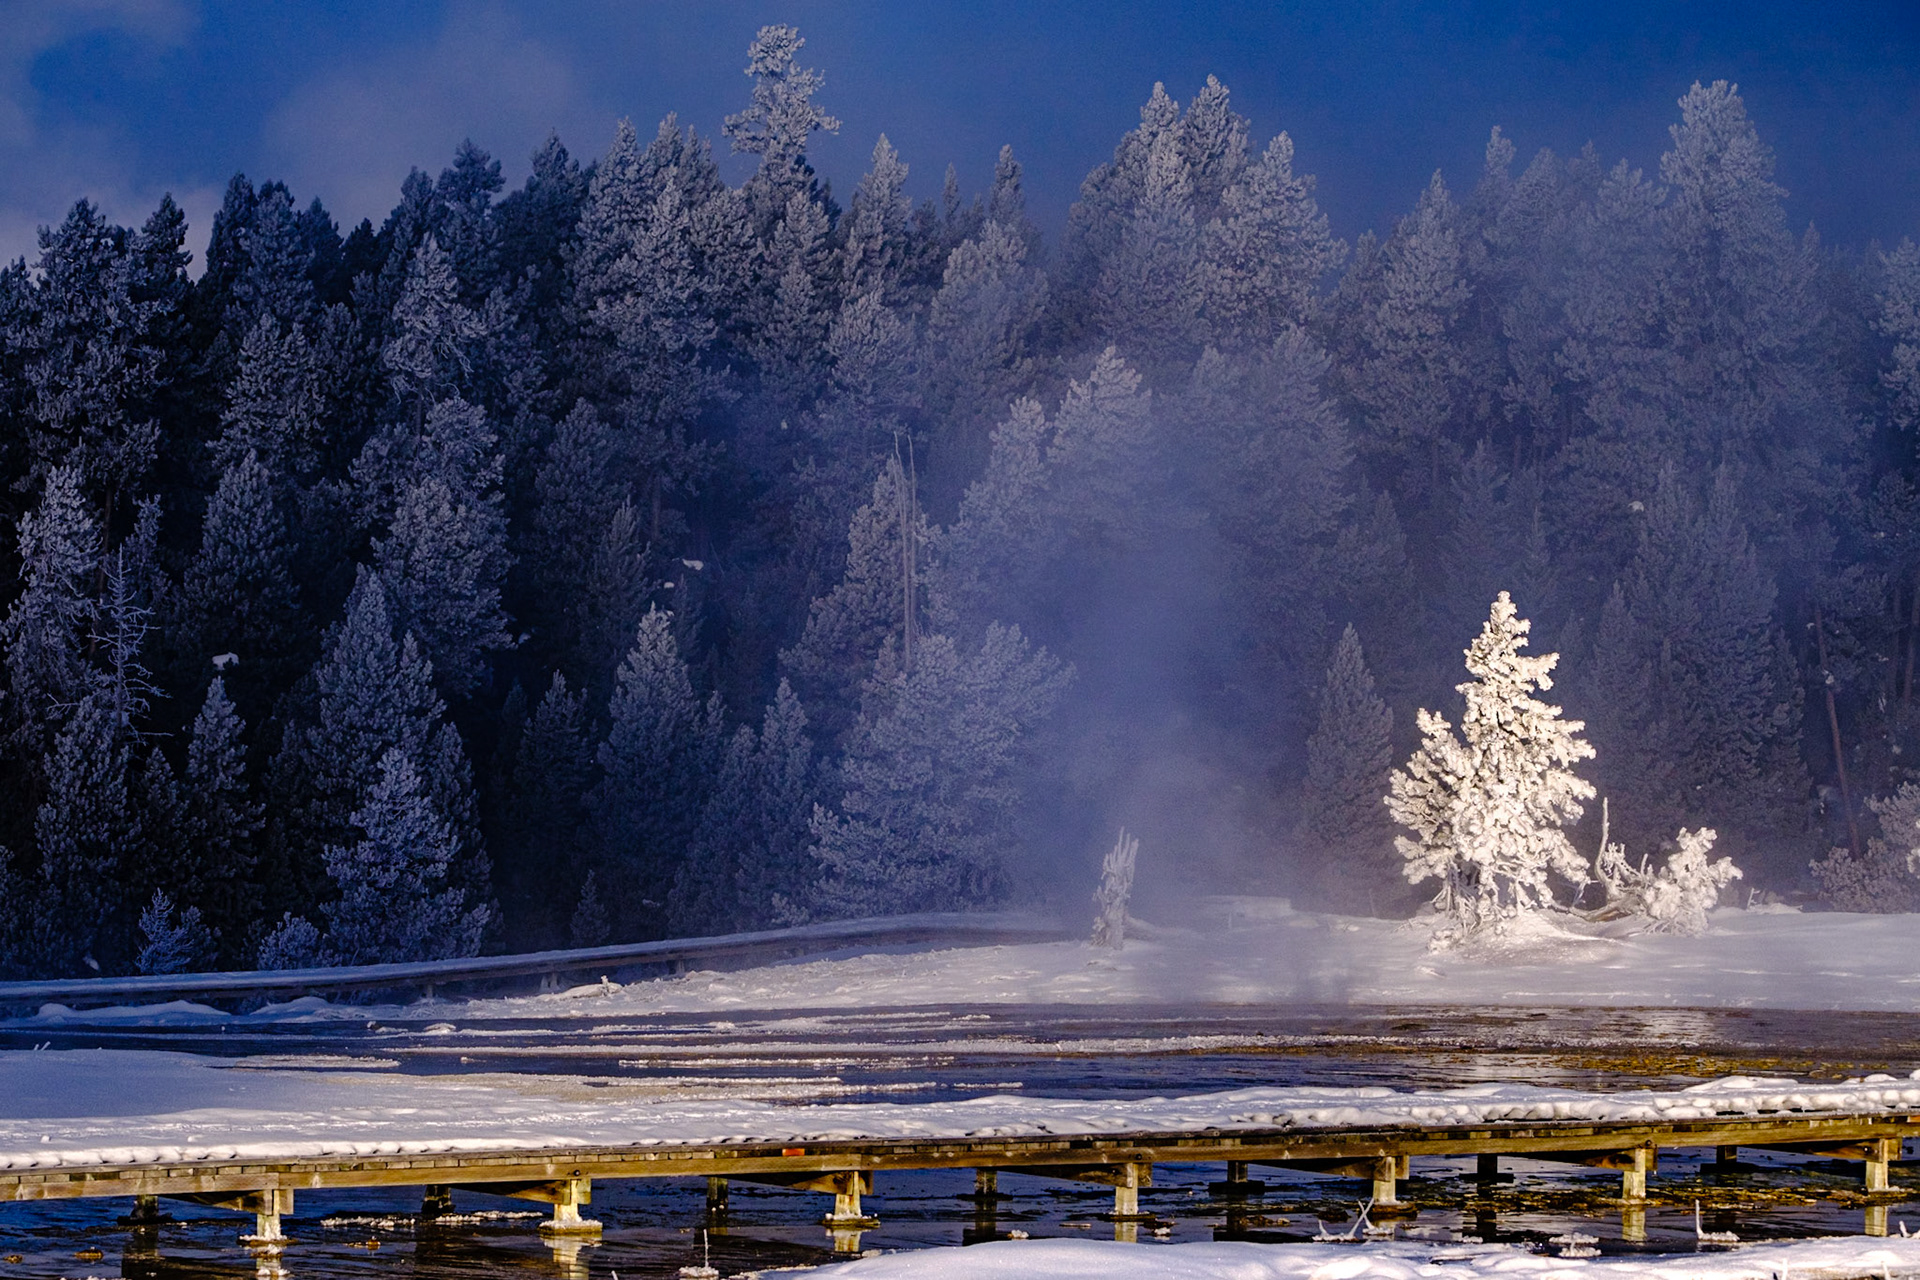
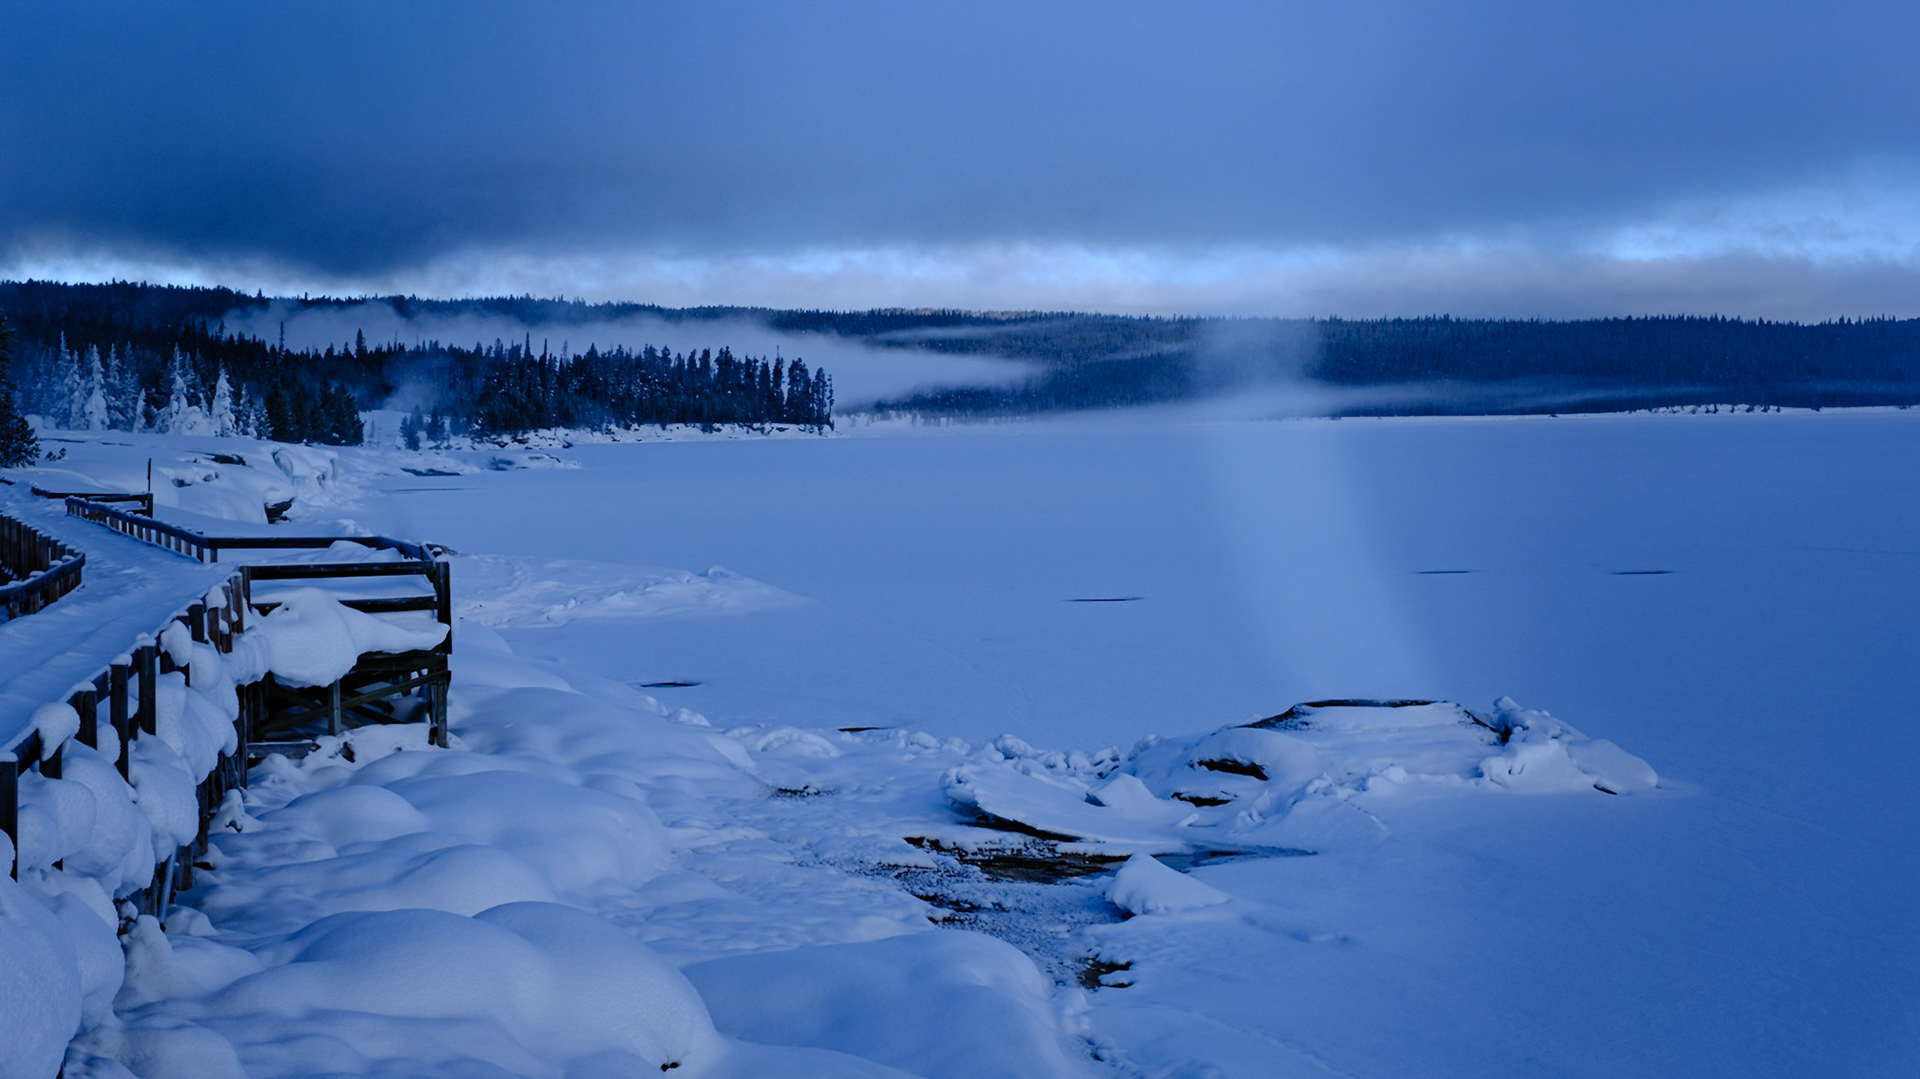

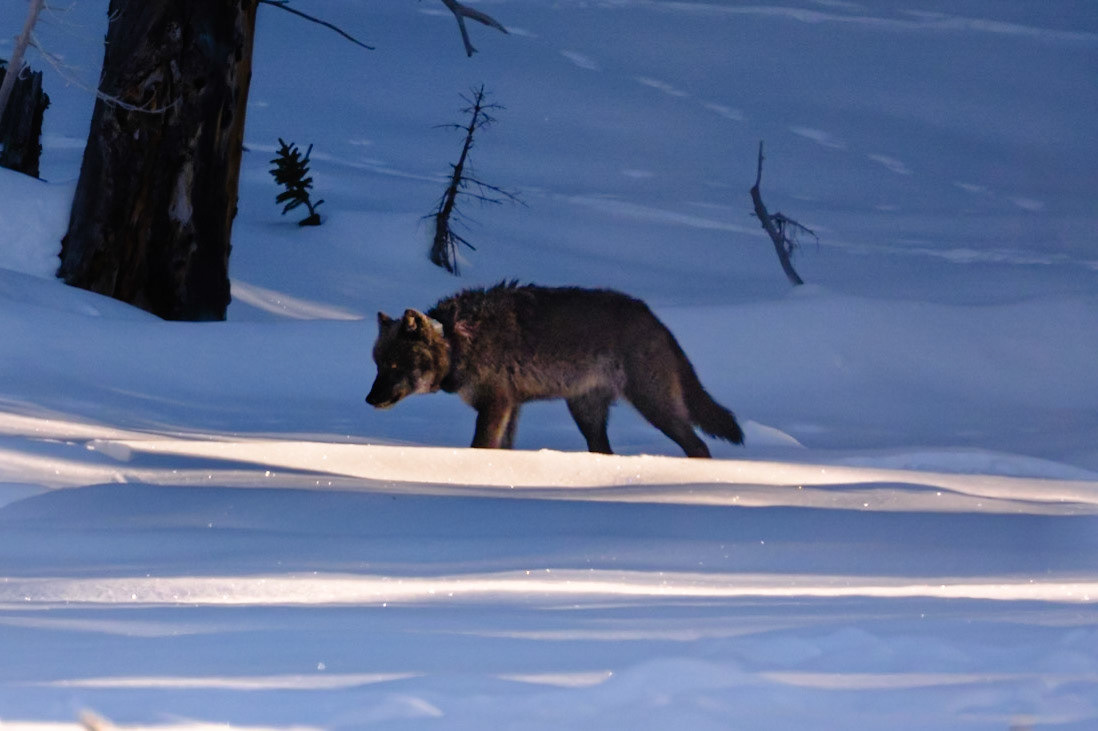
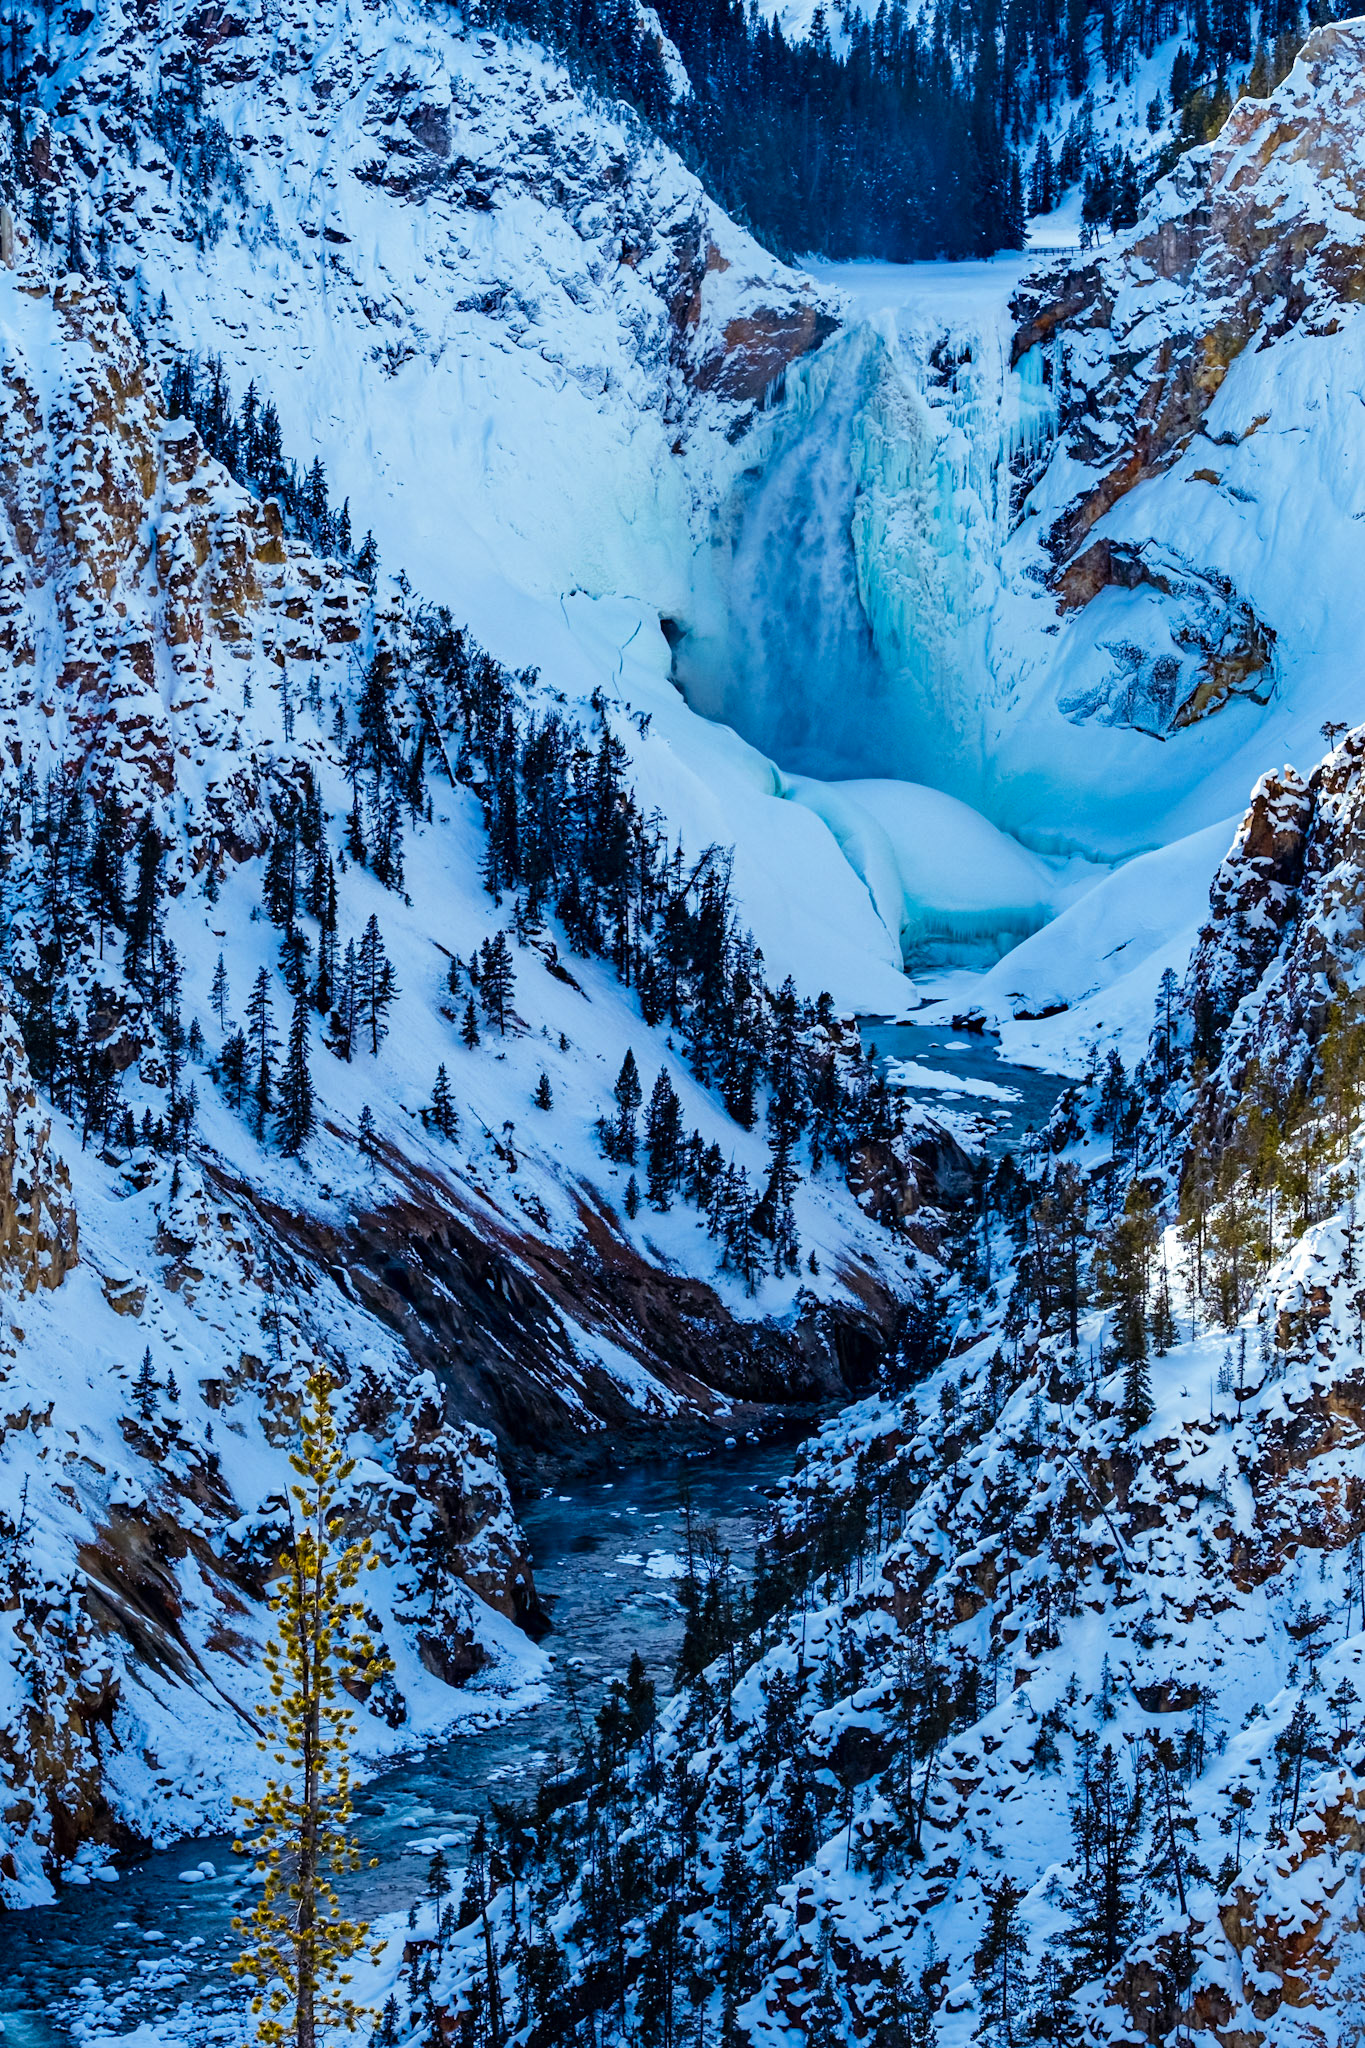
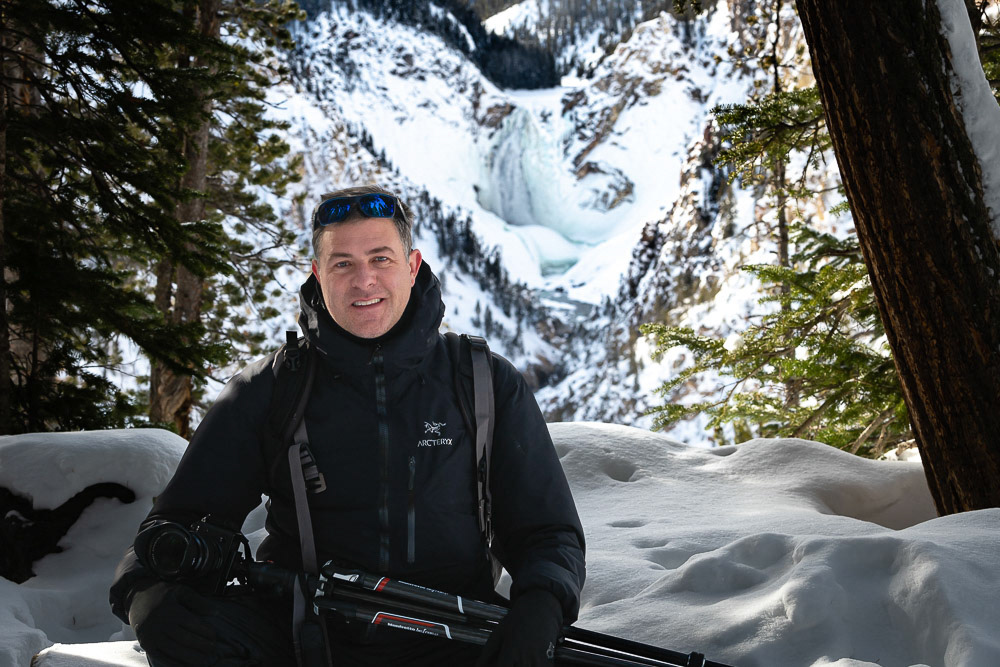
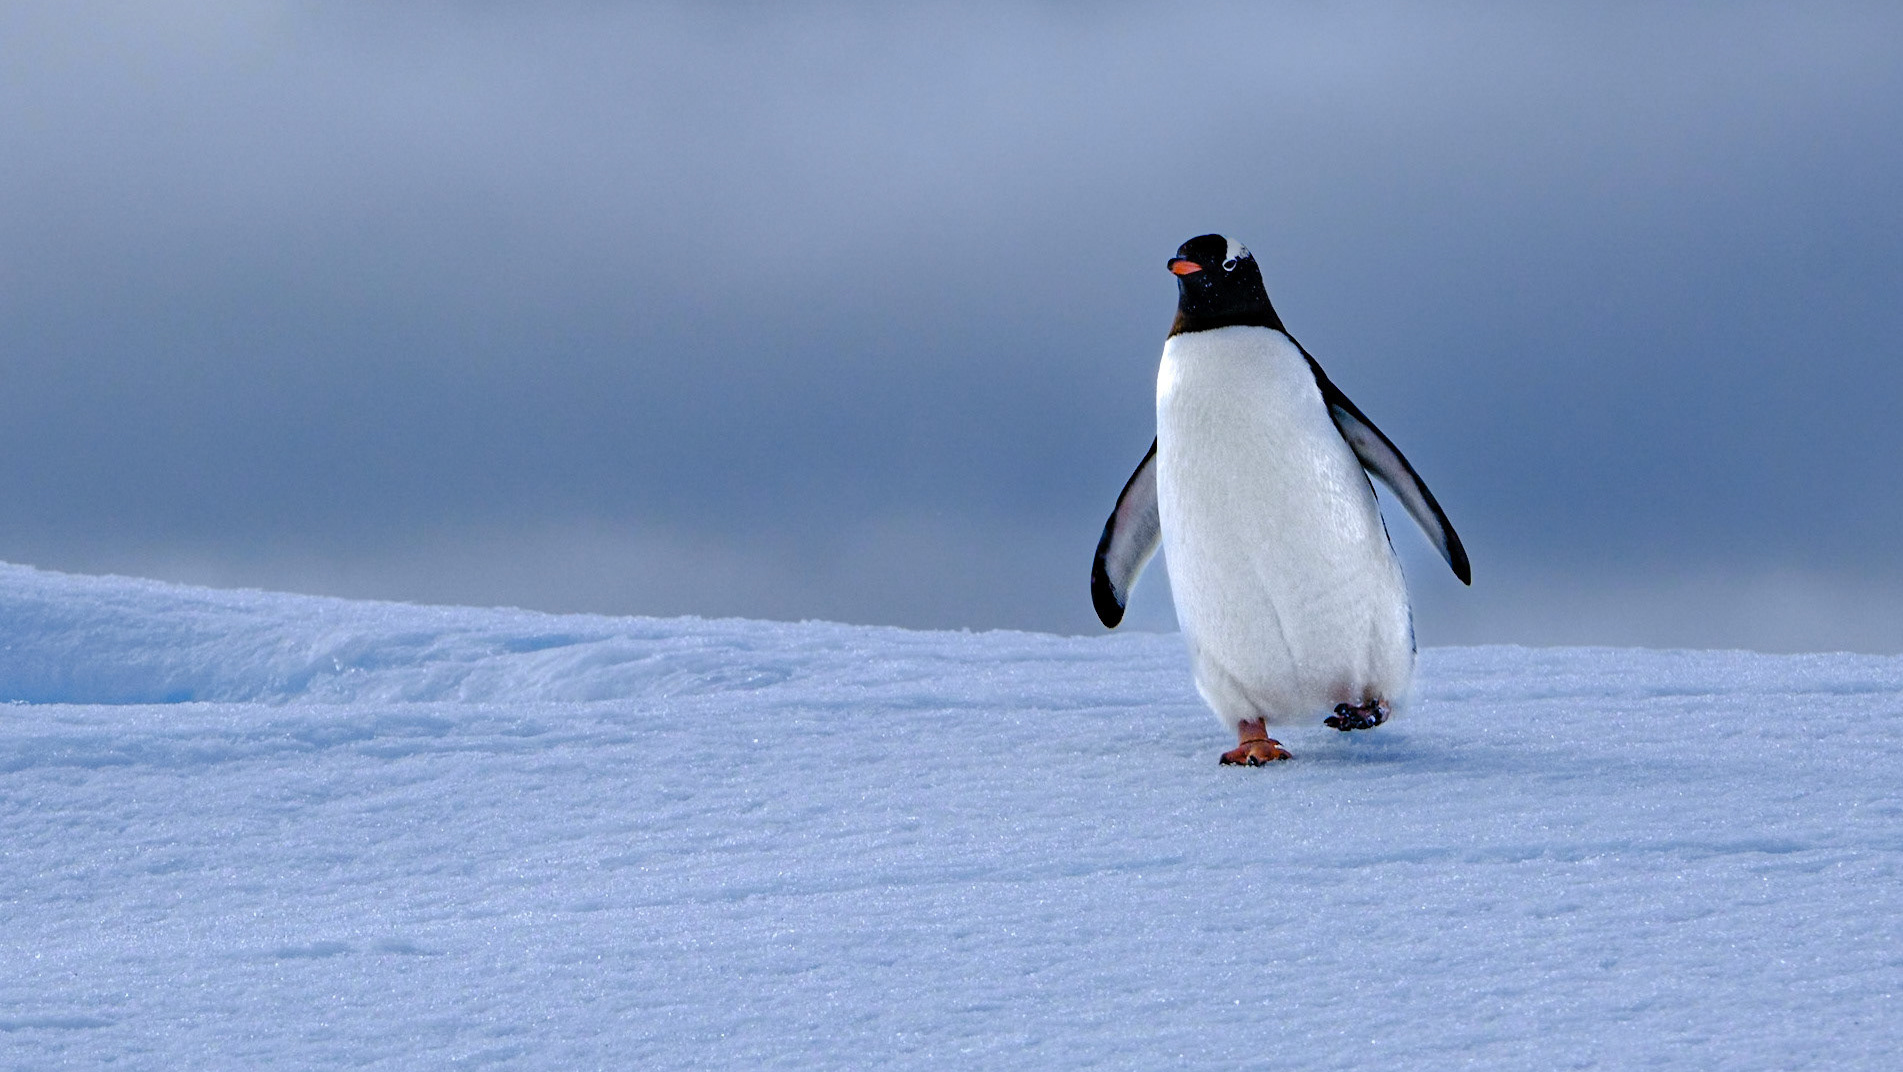
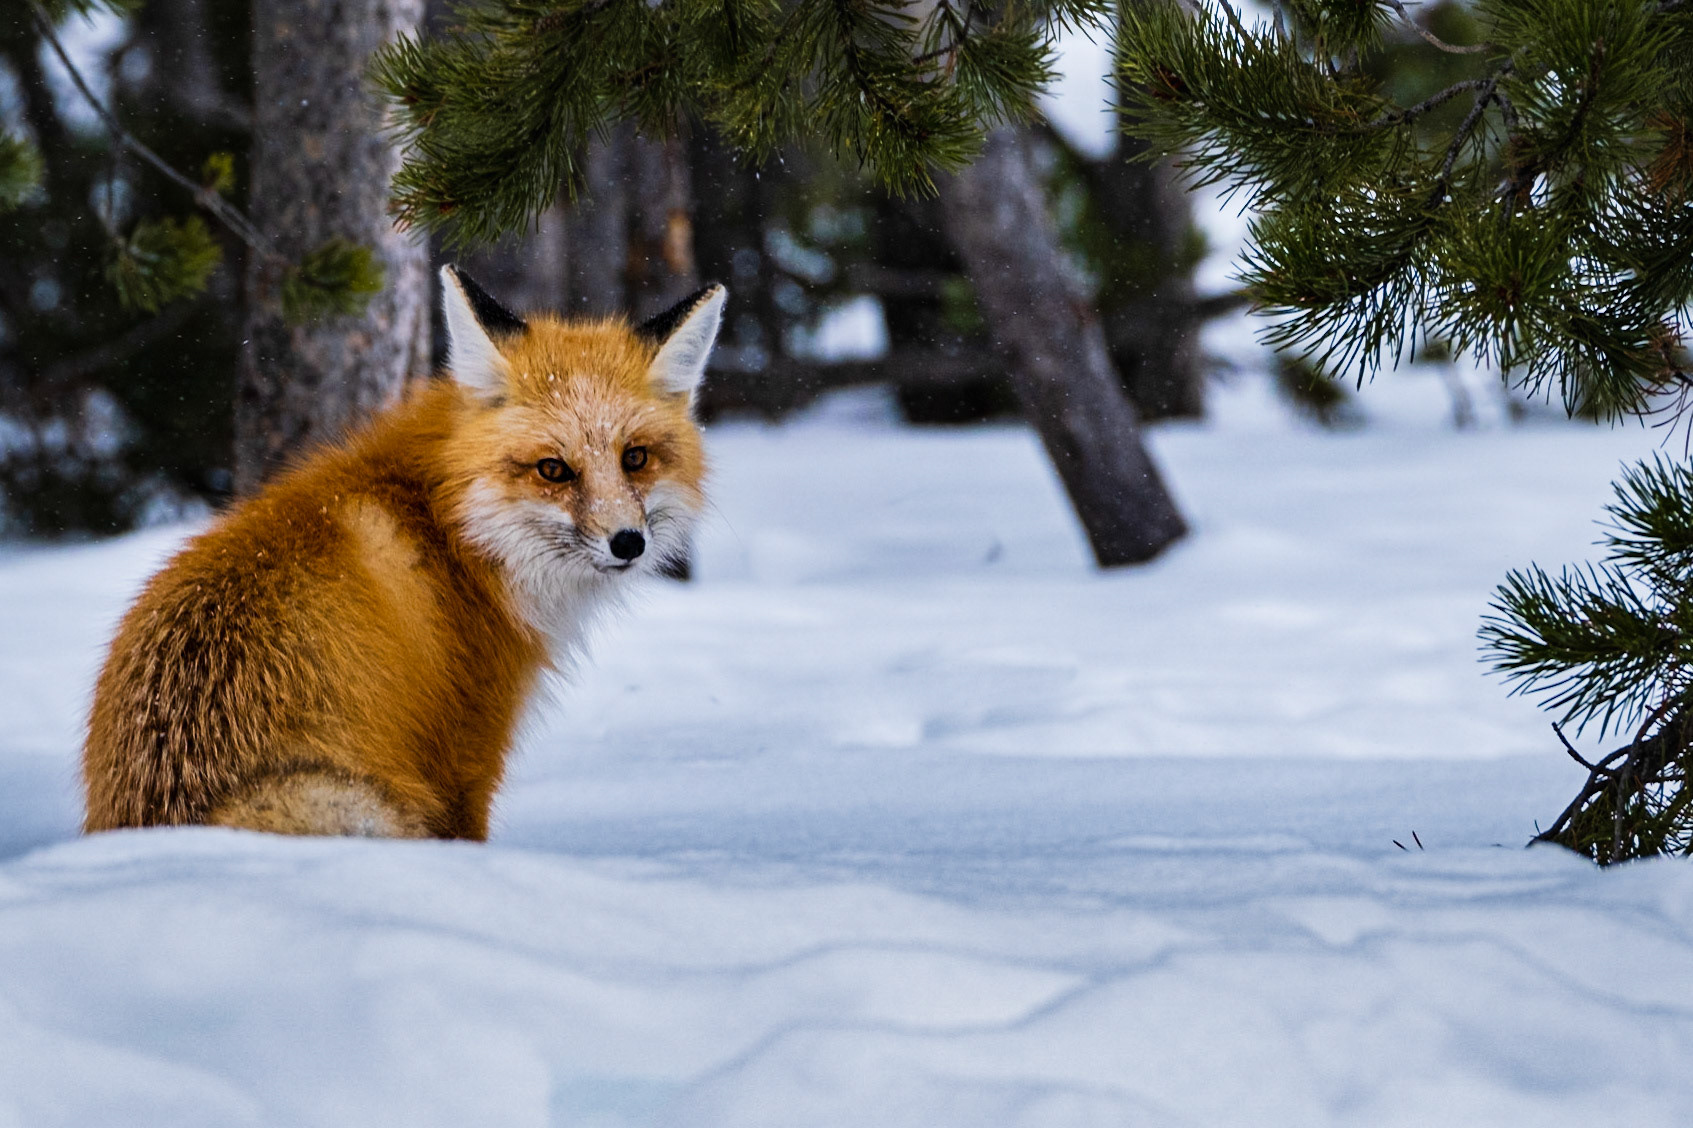
Photo Credit: Michael S Miller
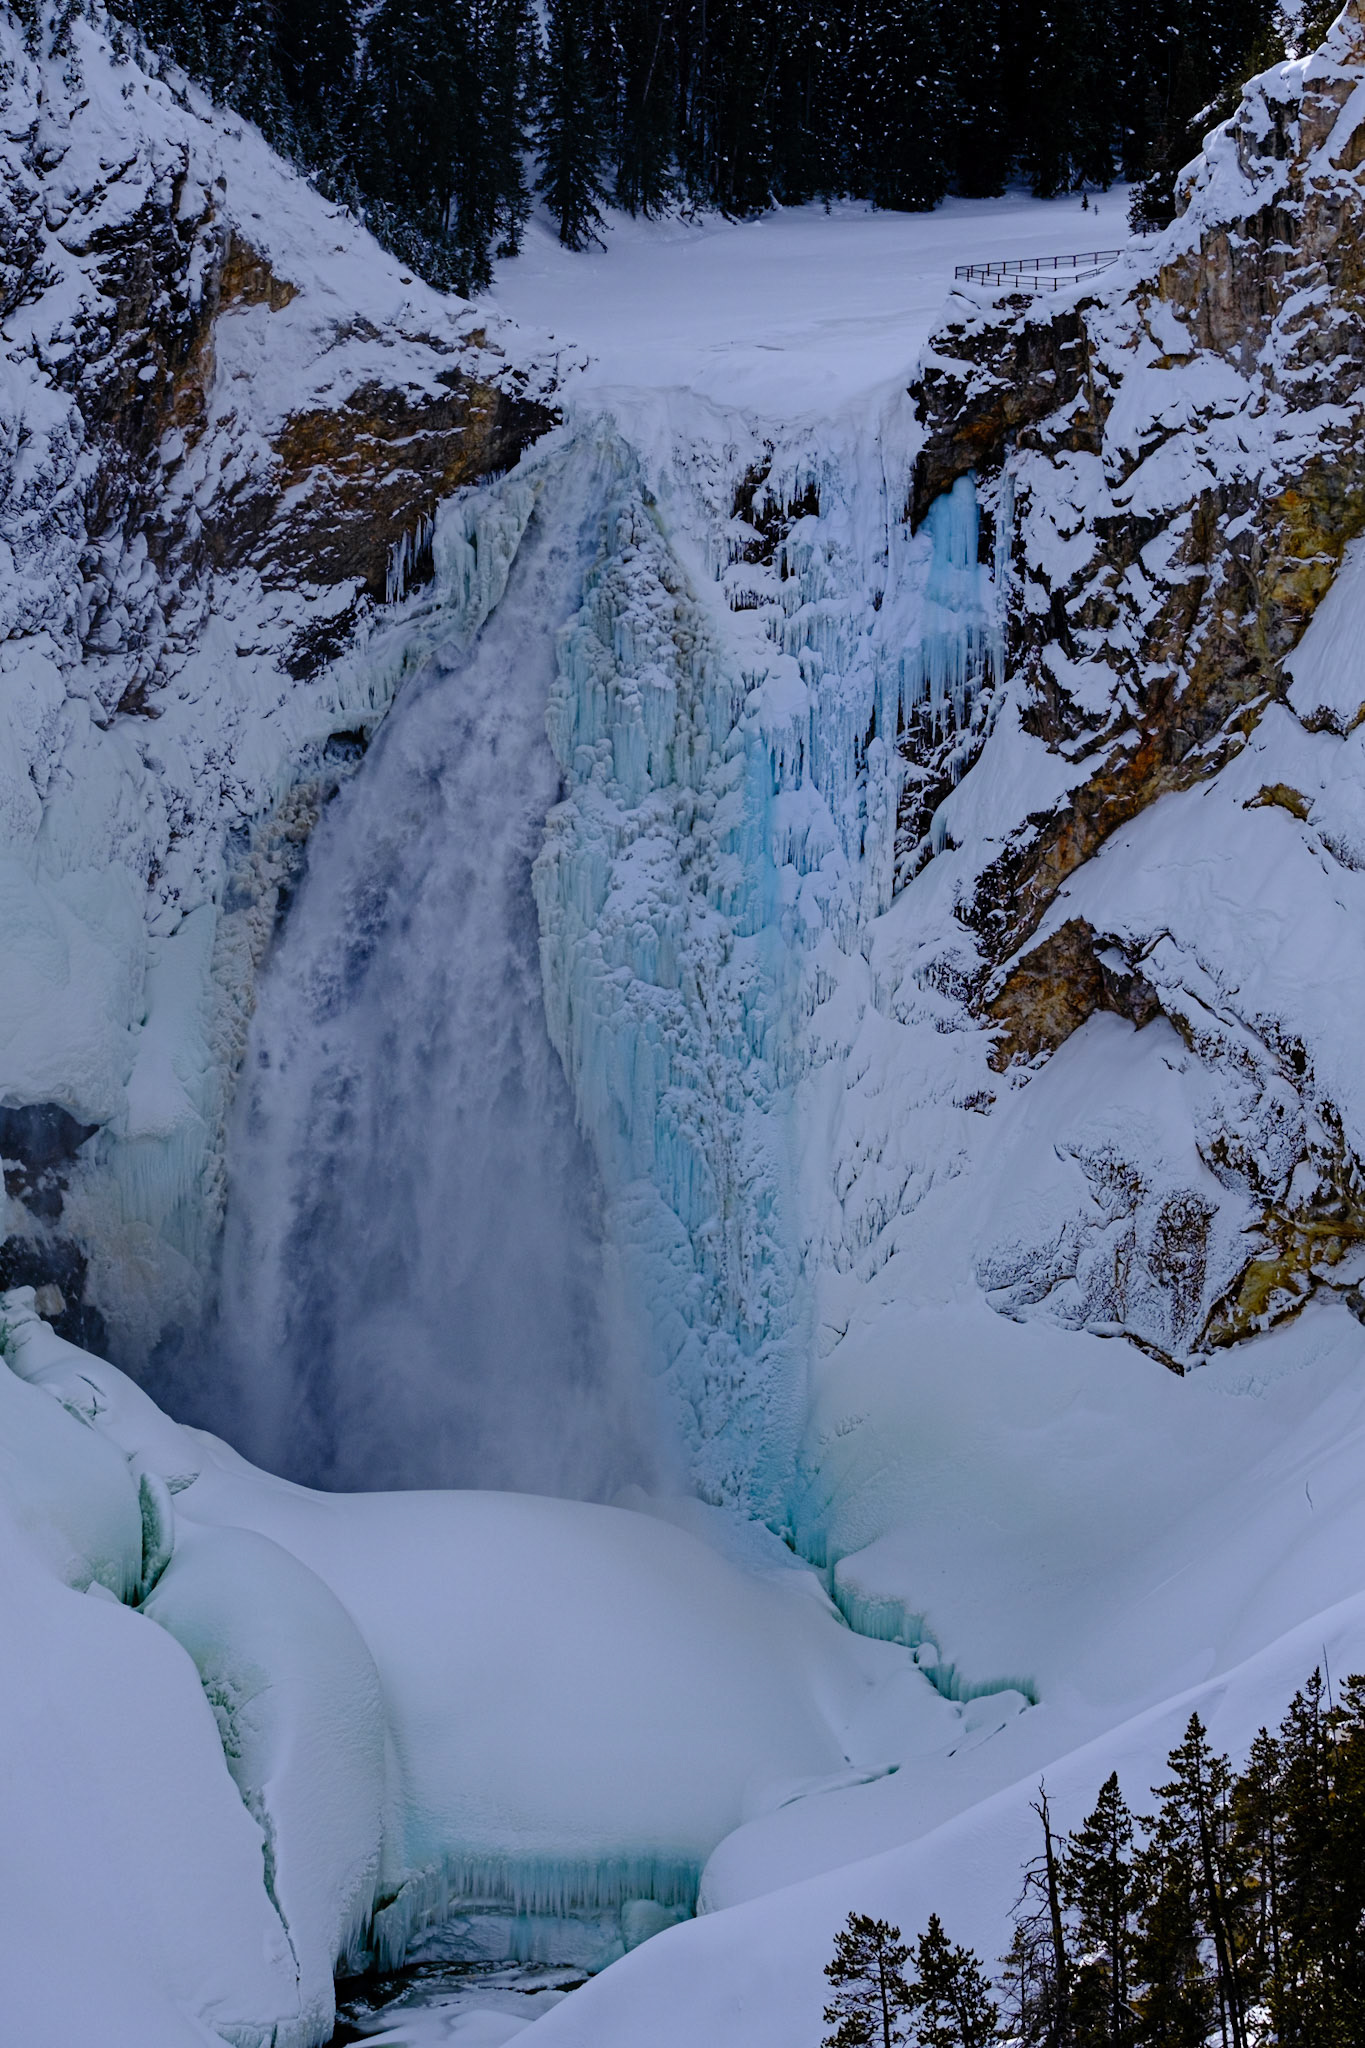
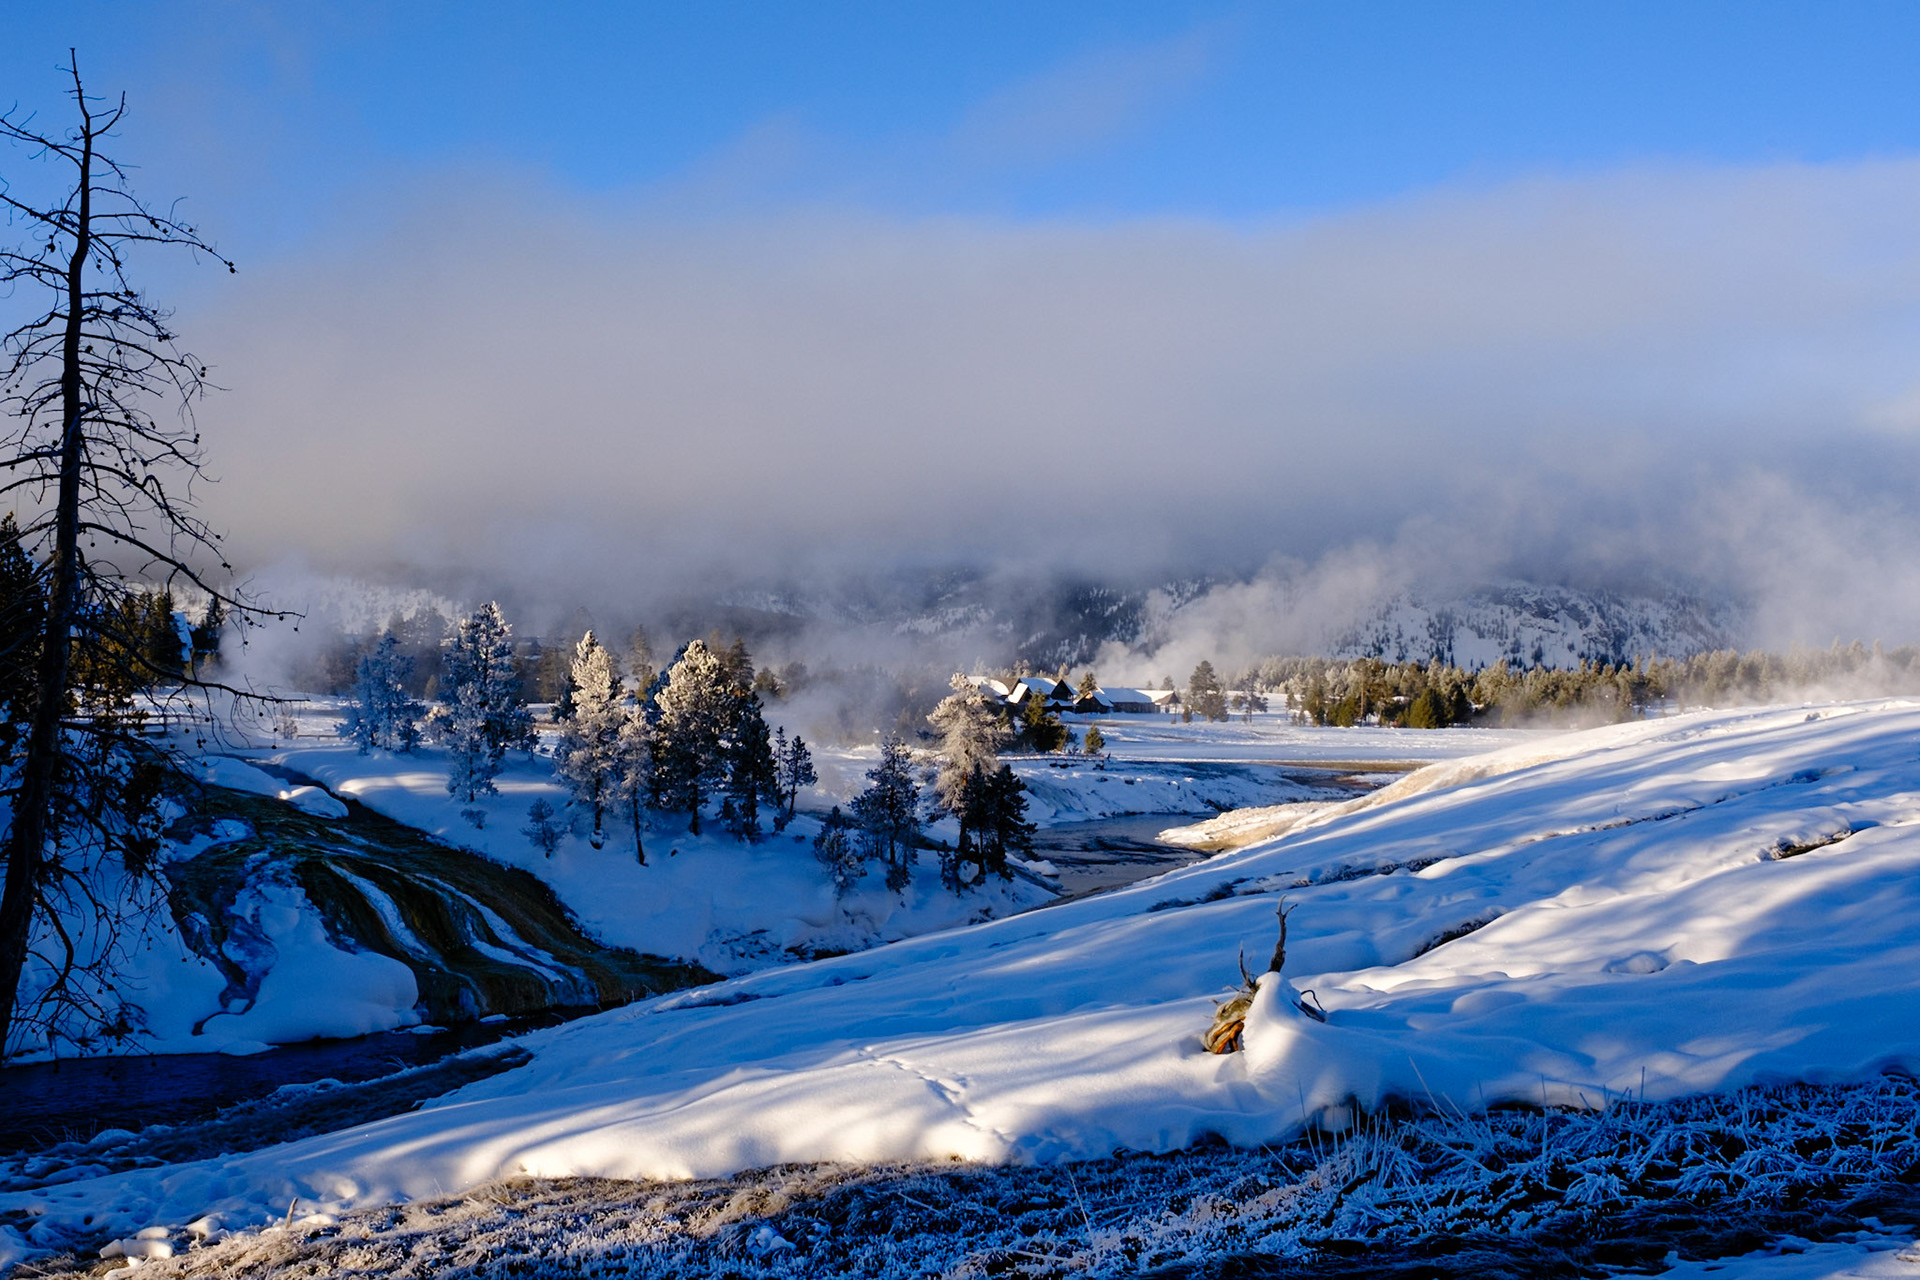
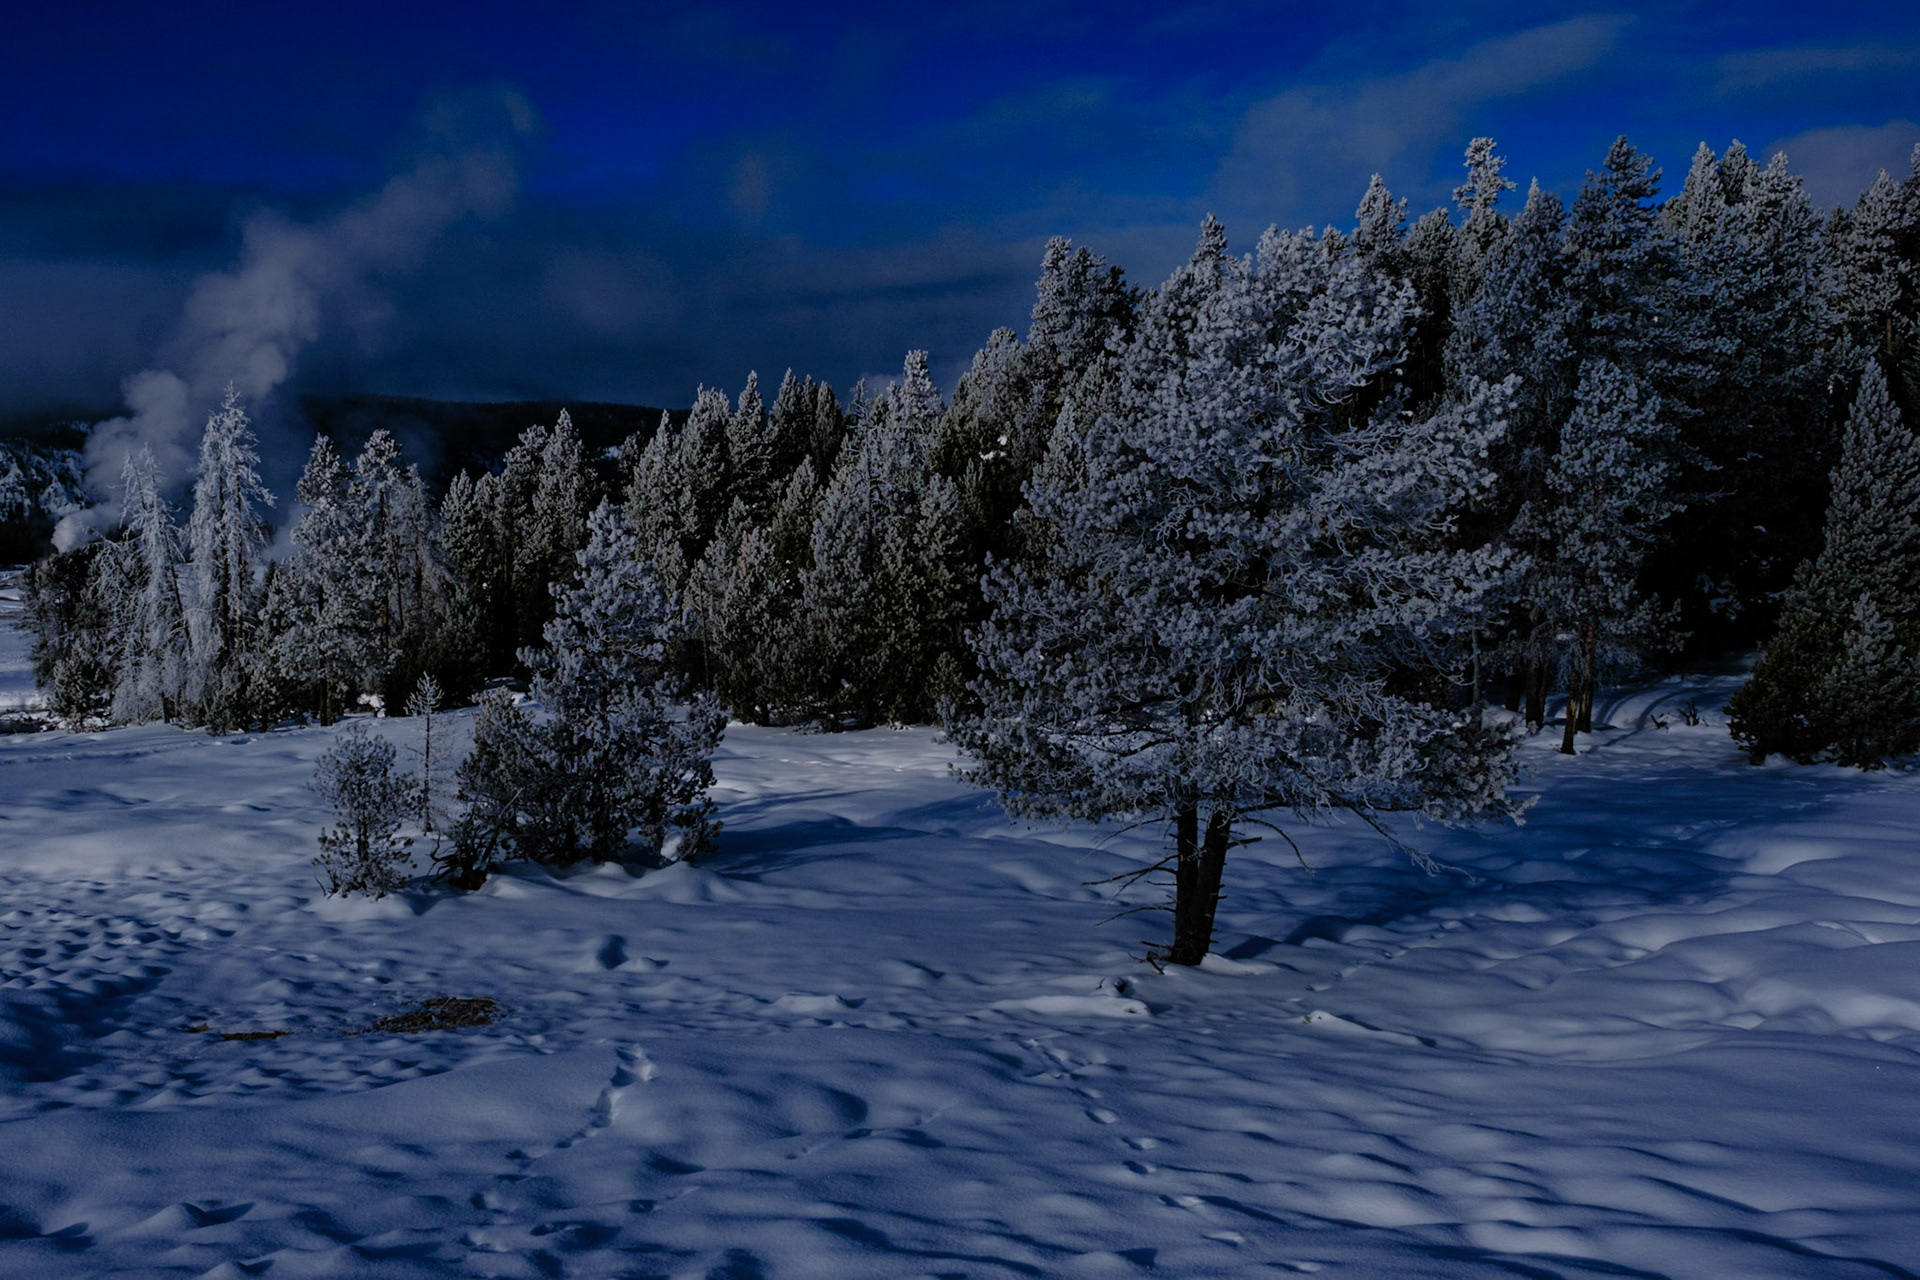
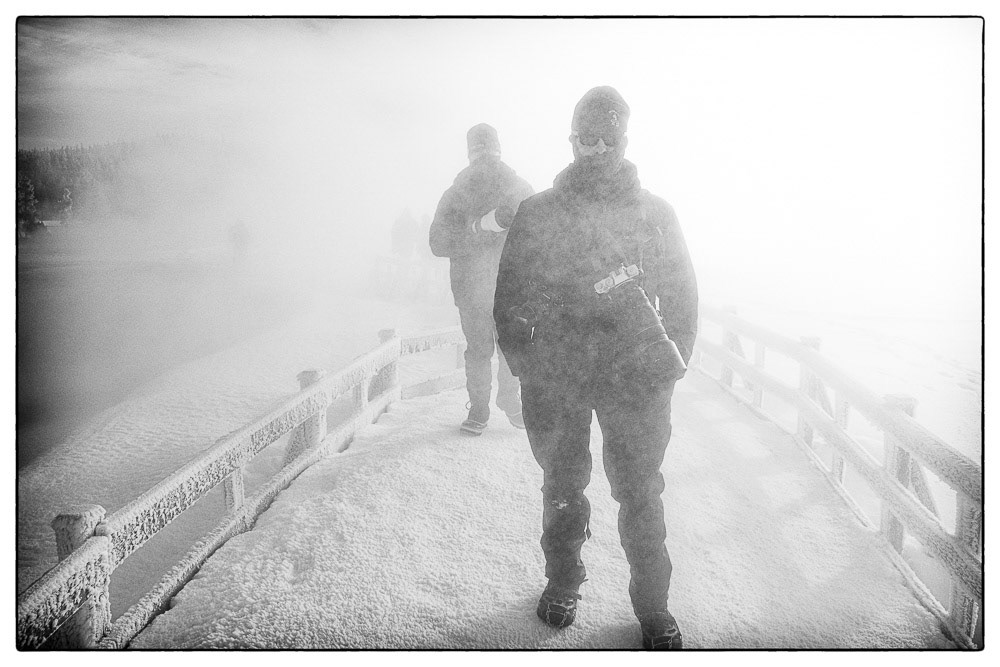
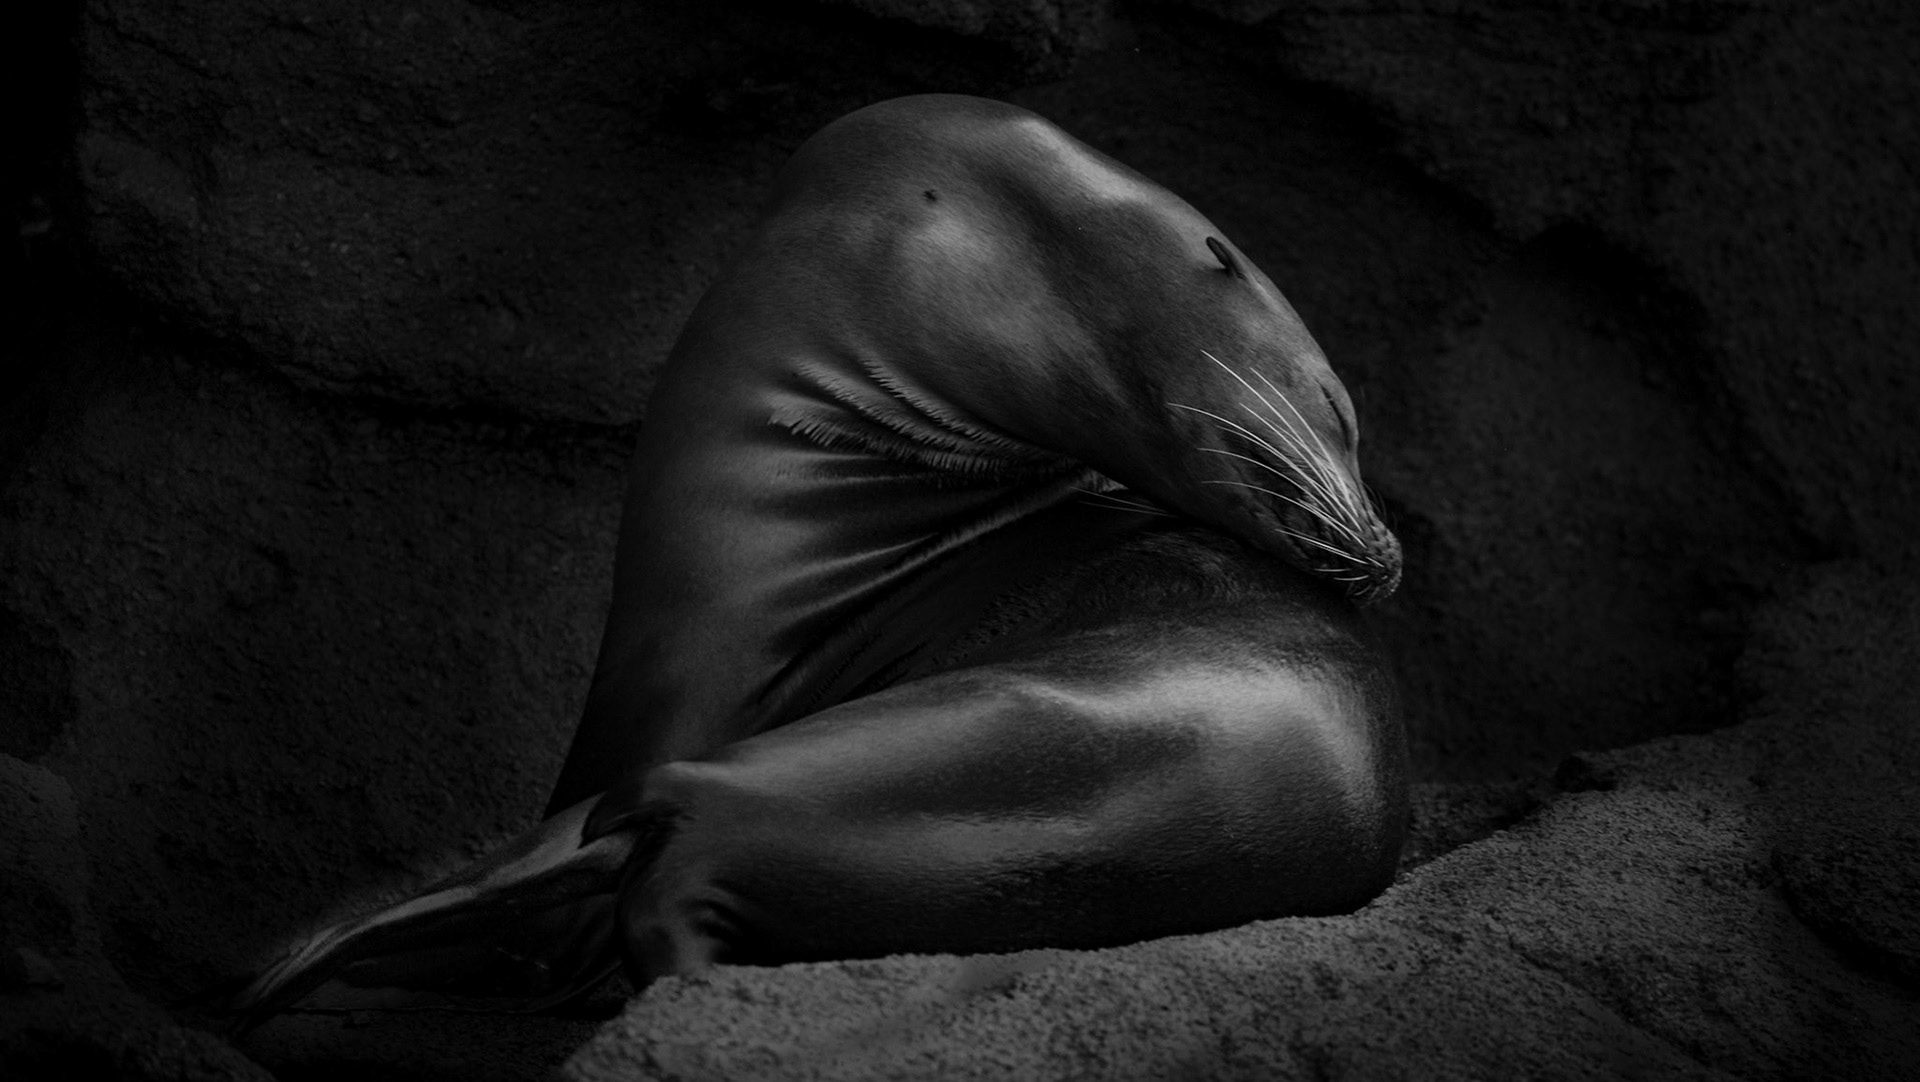
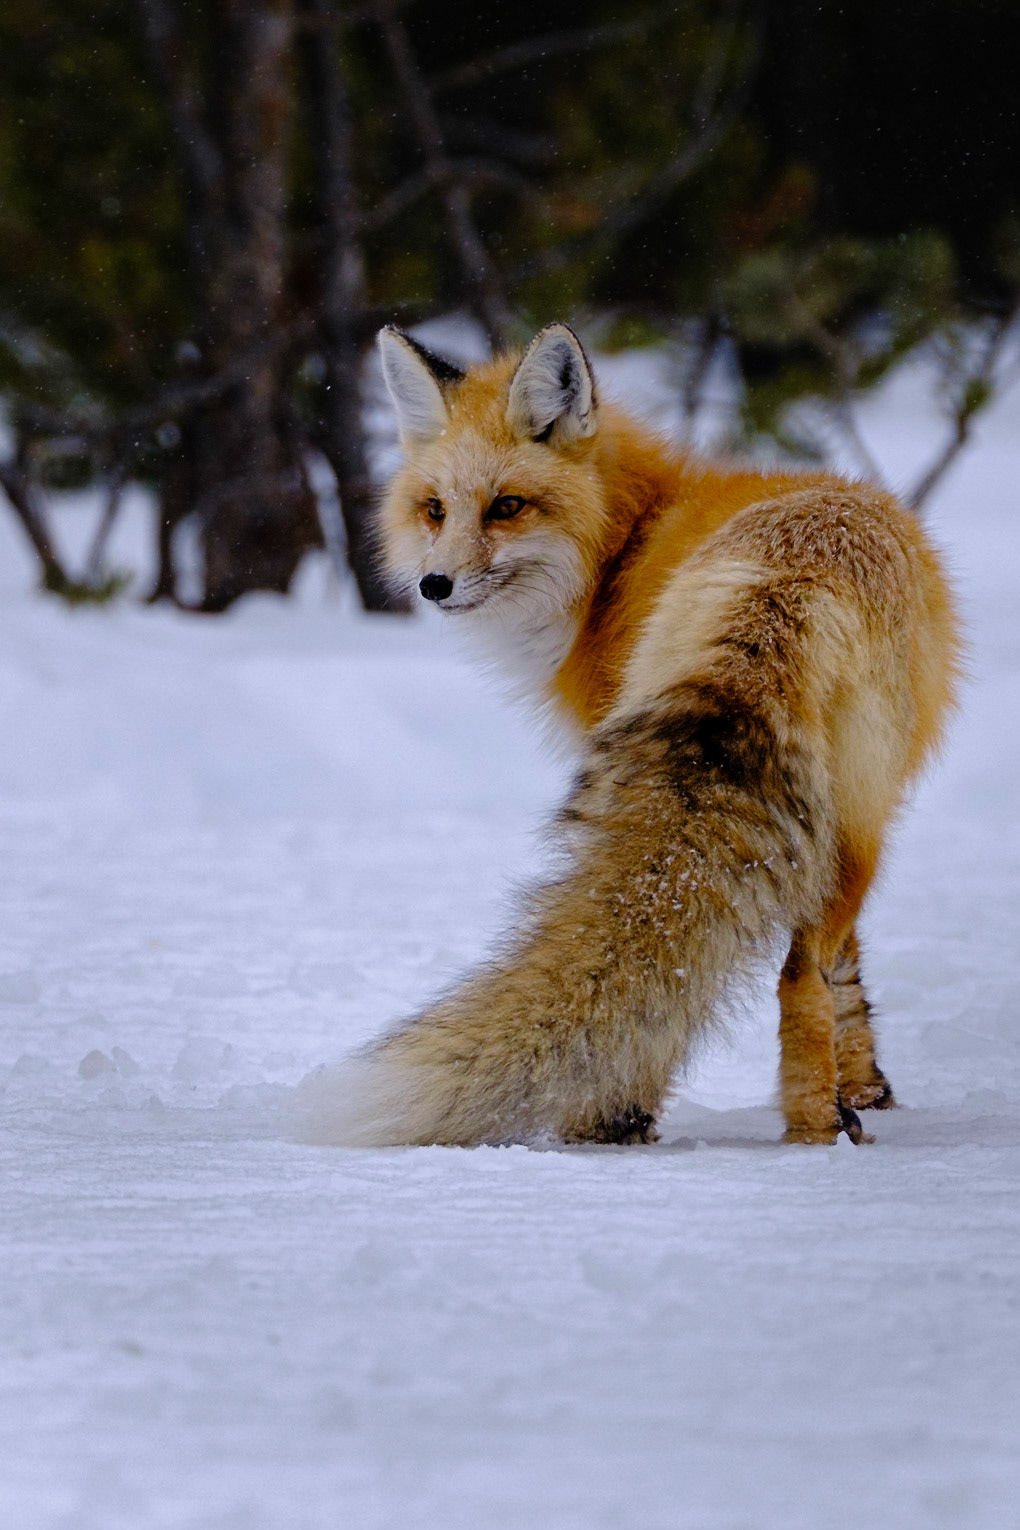
Photo Credit: Michael S Miller
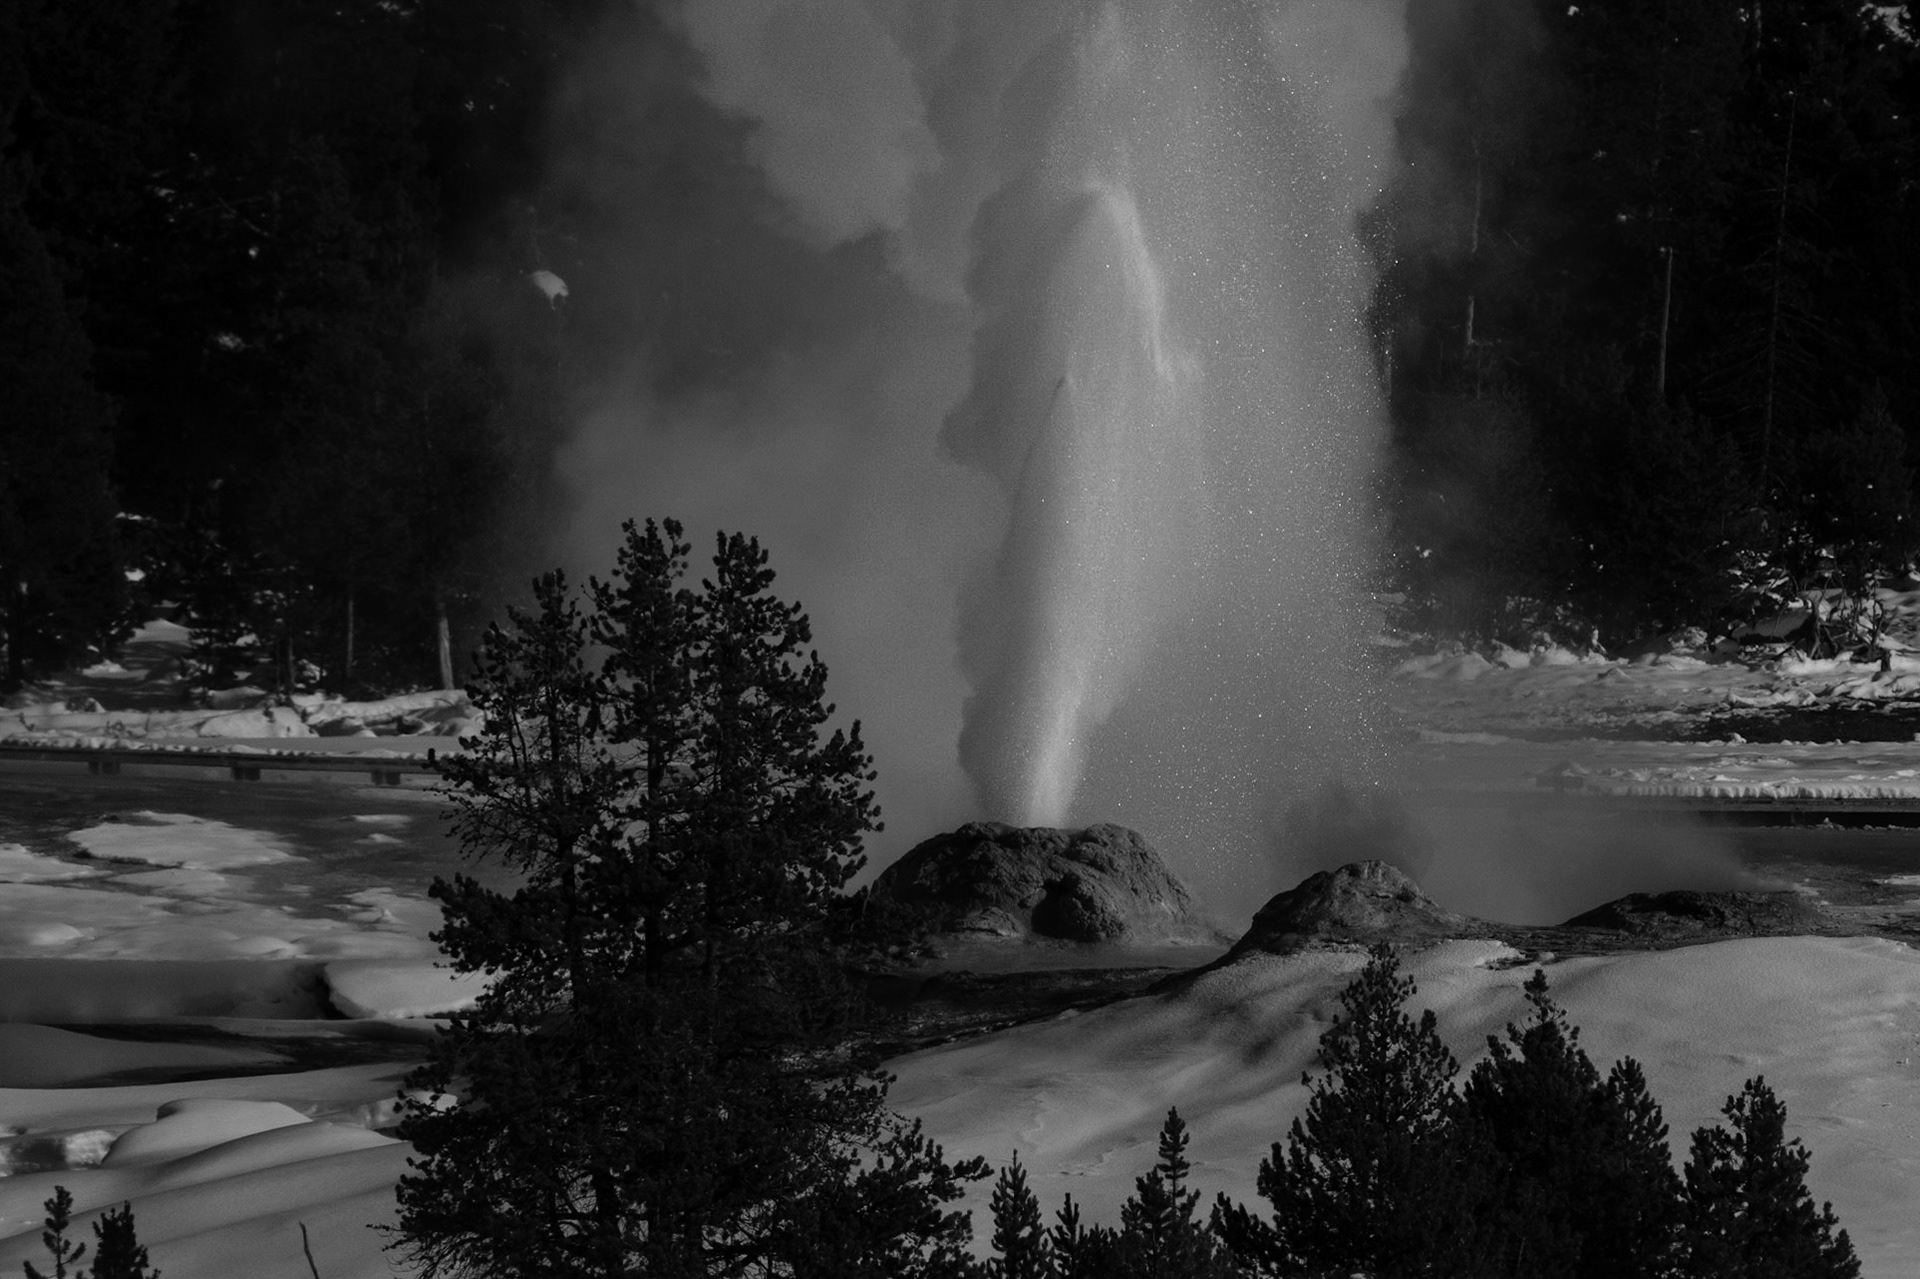
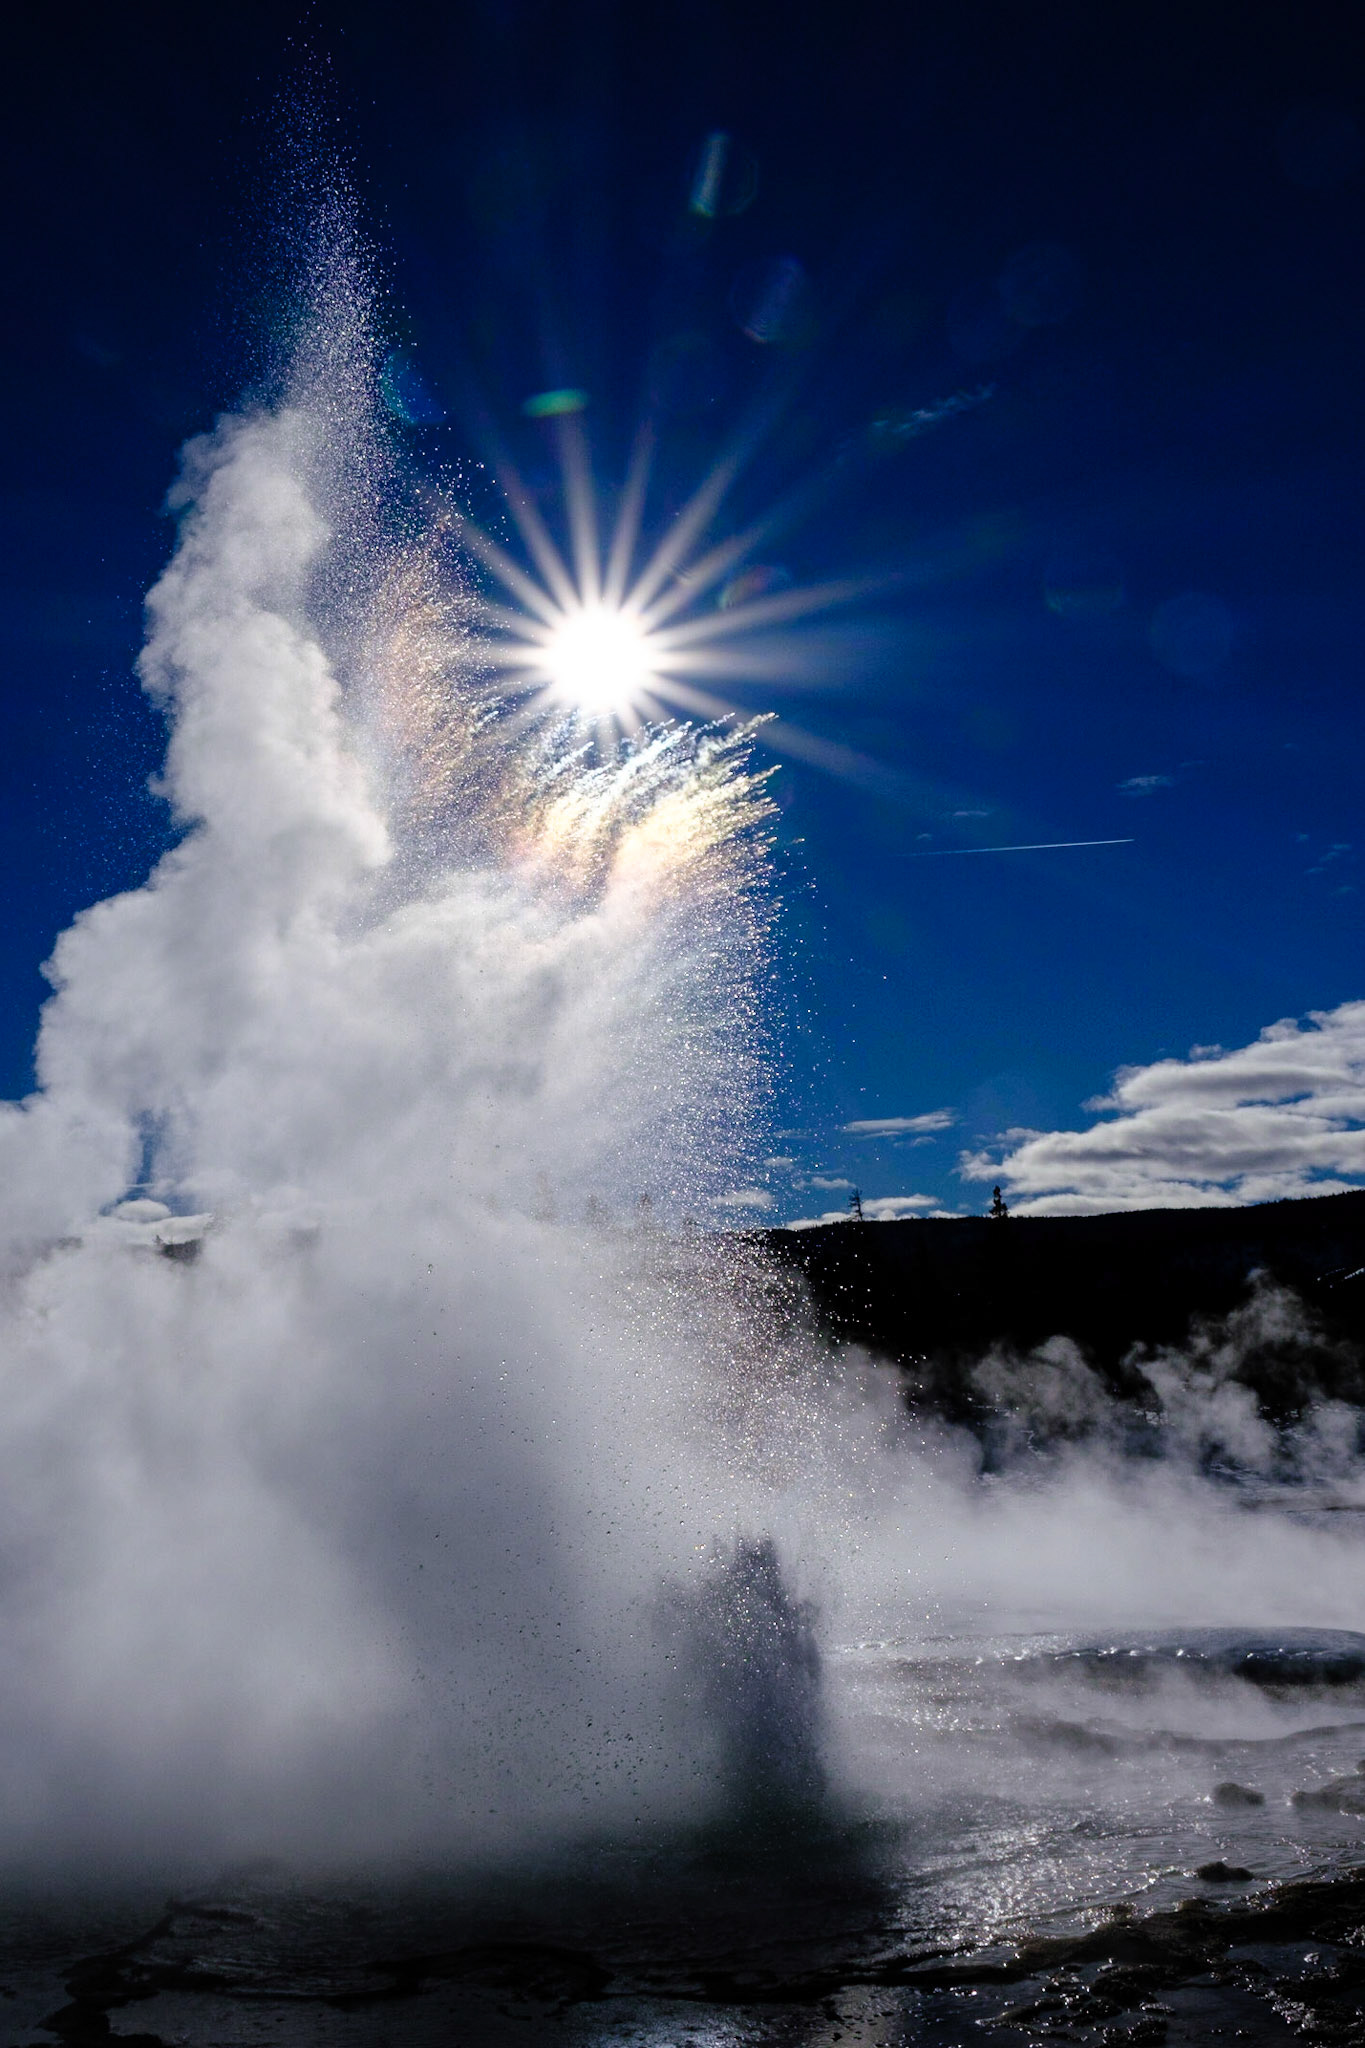
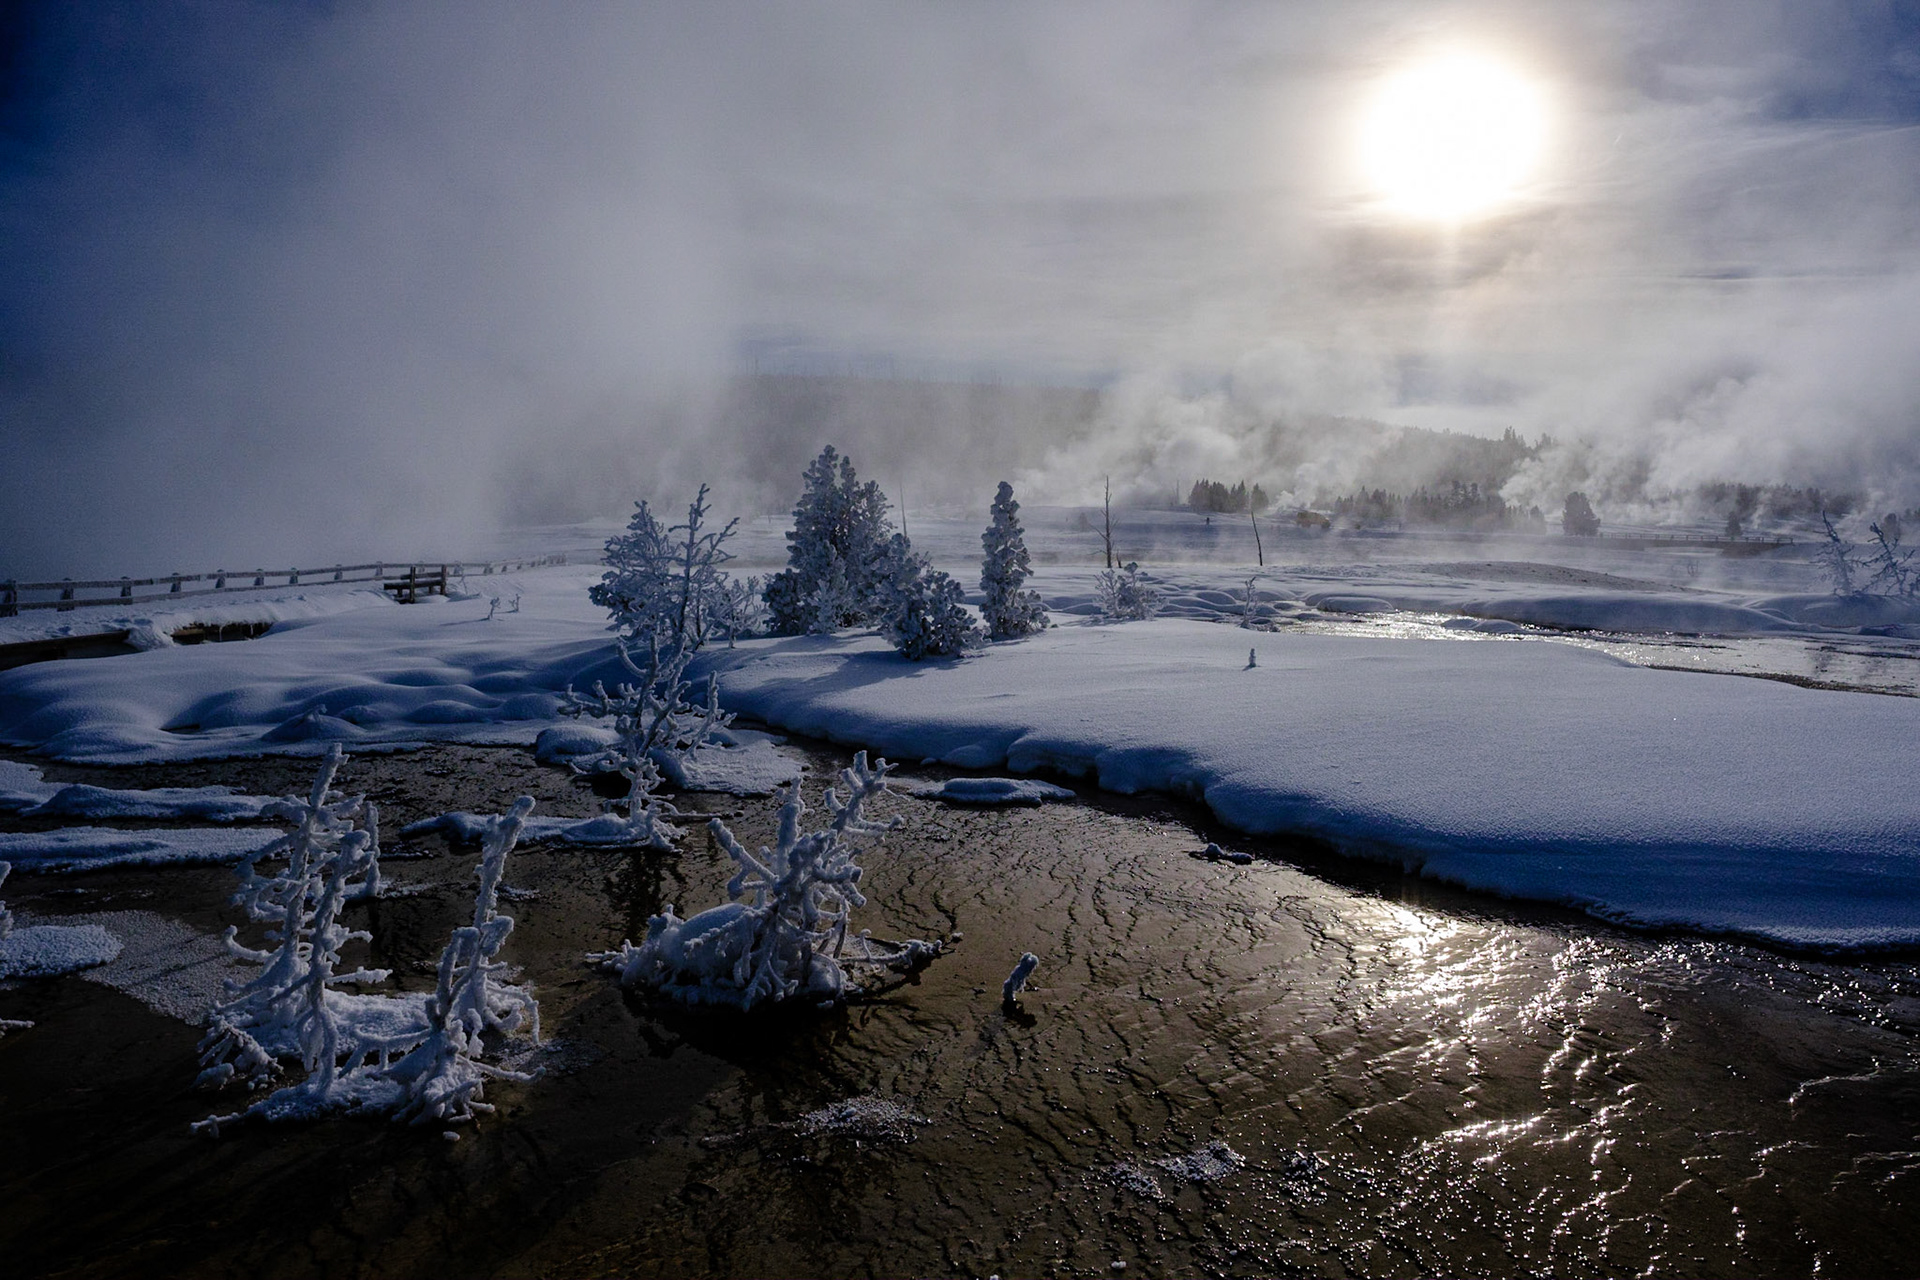
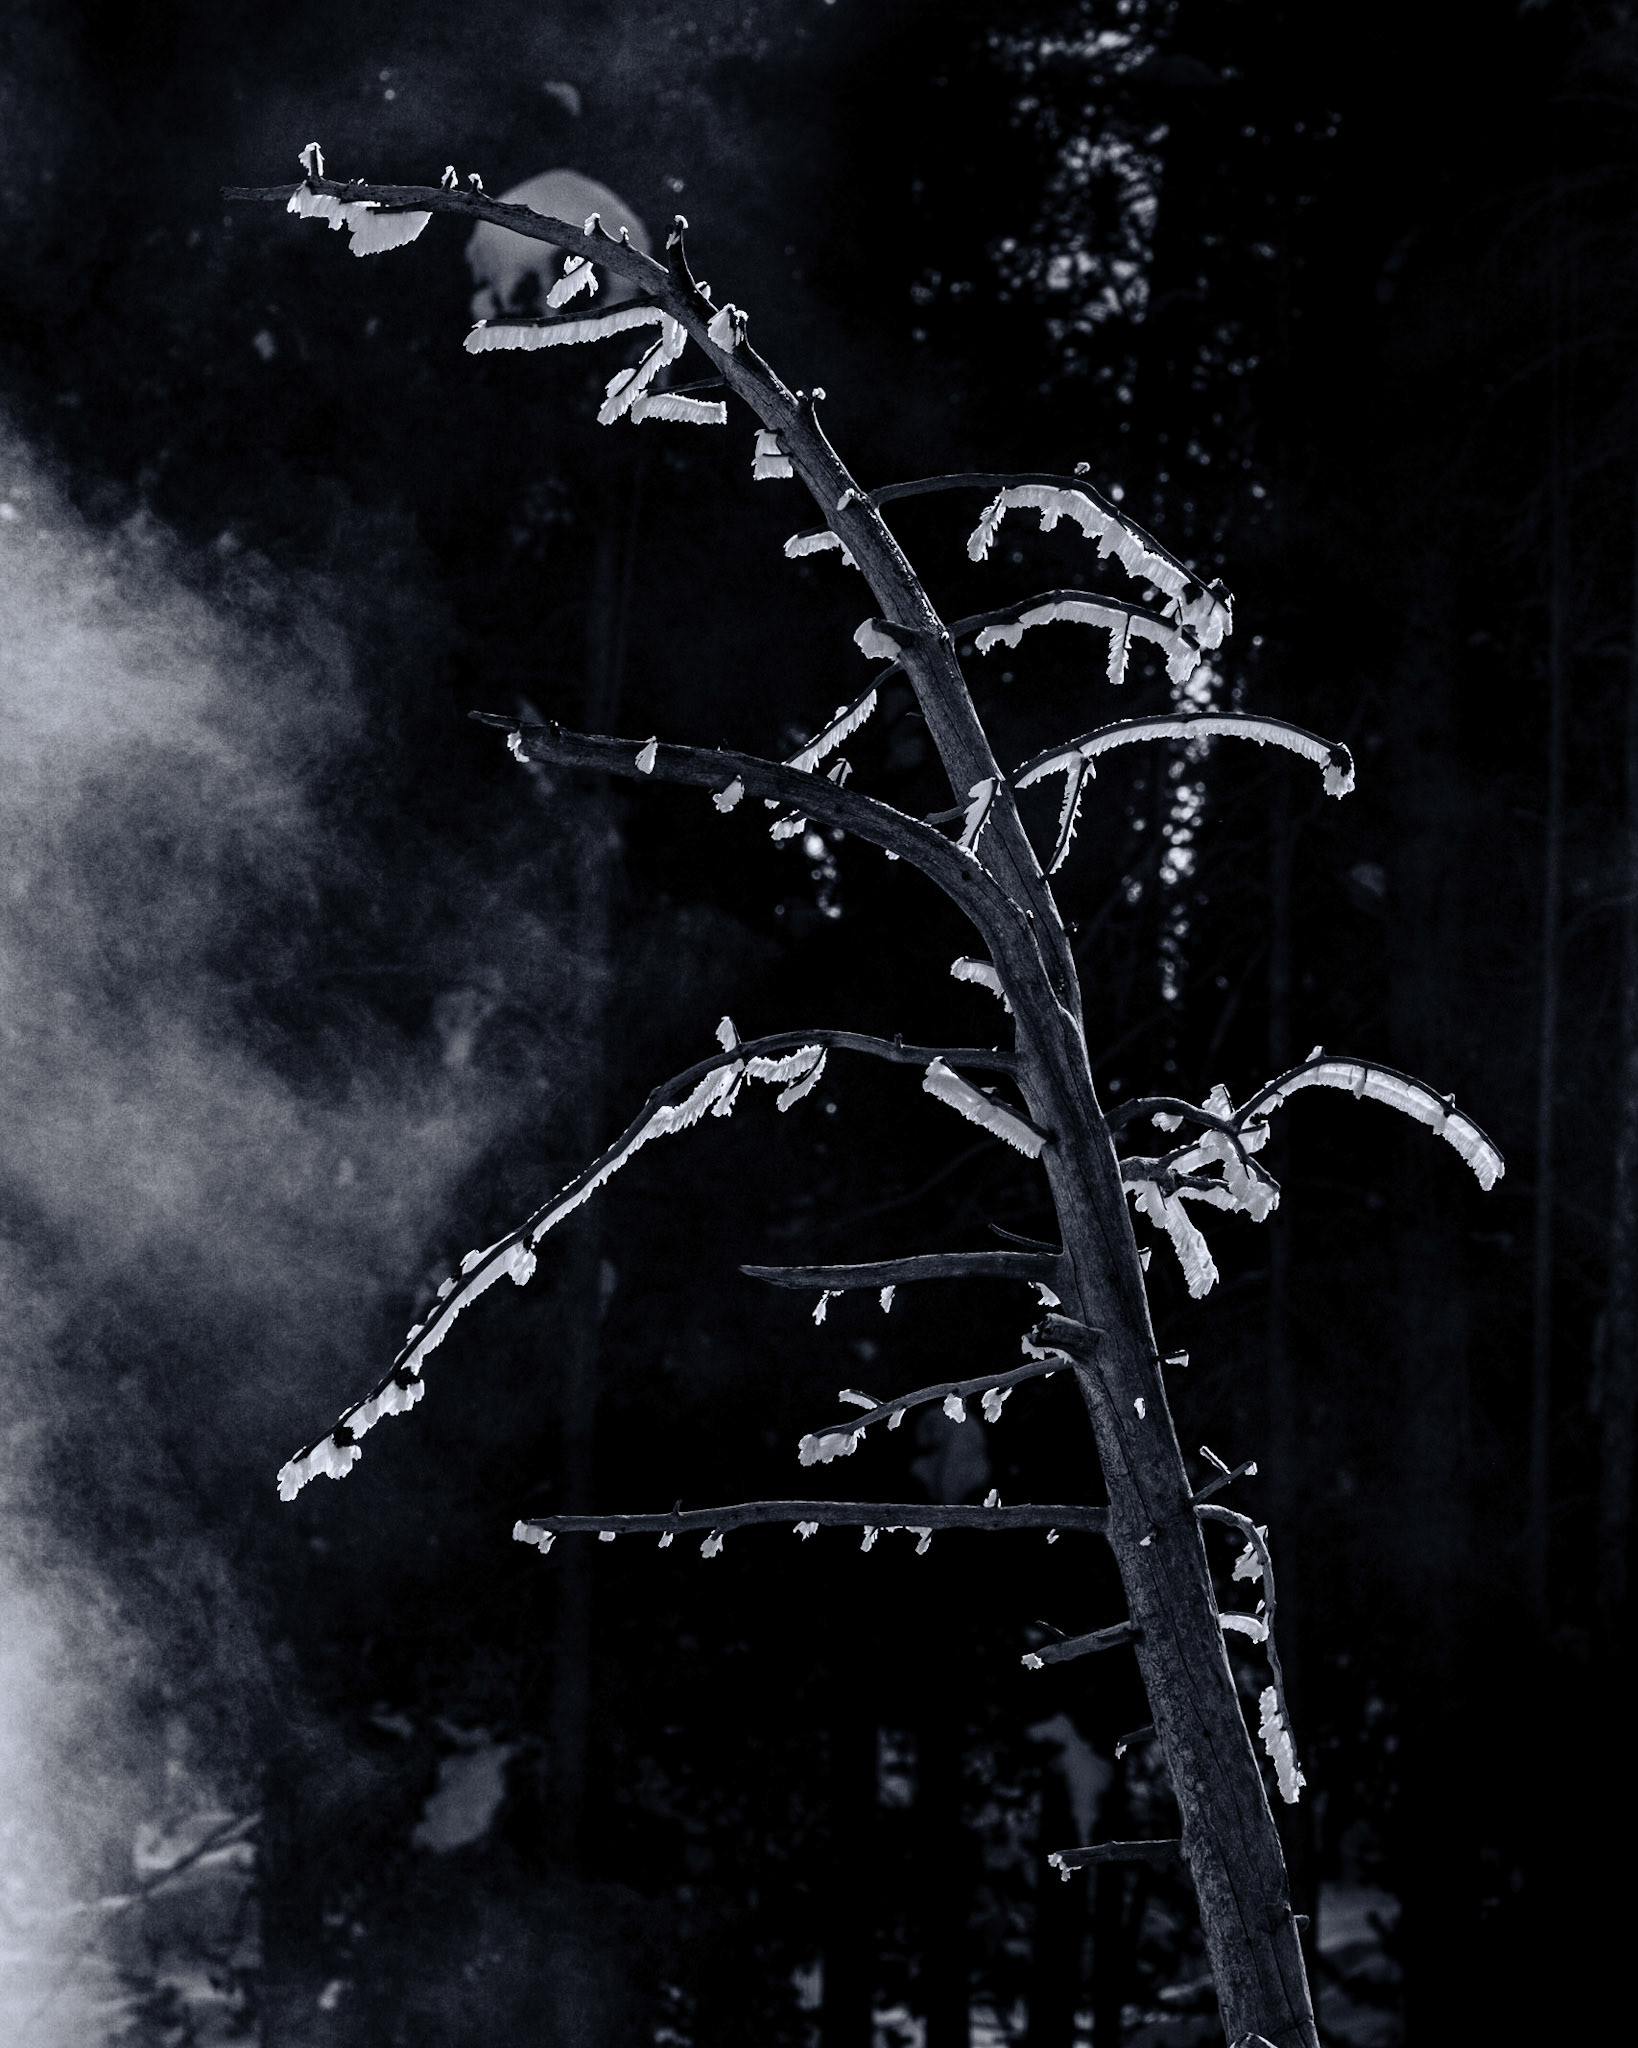
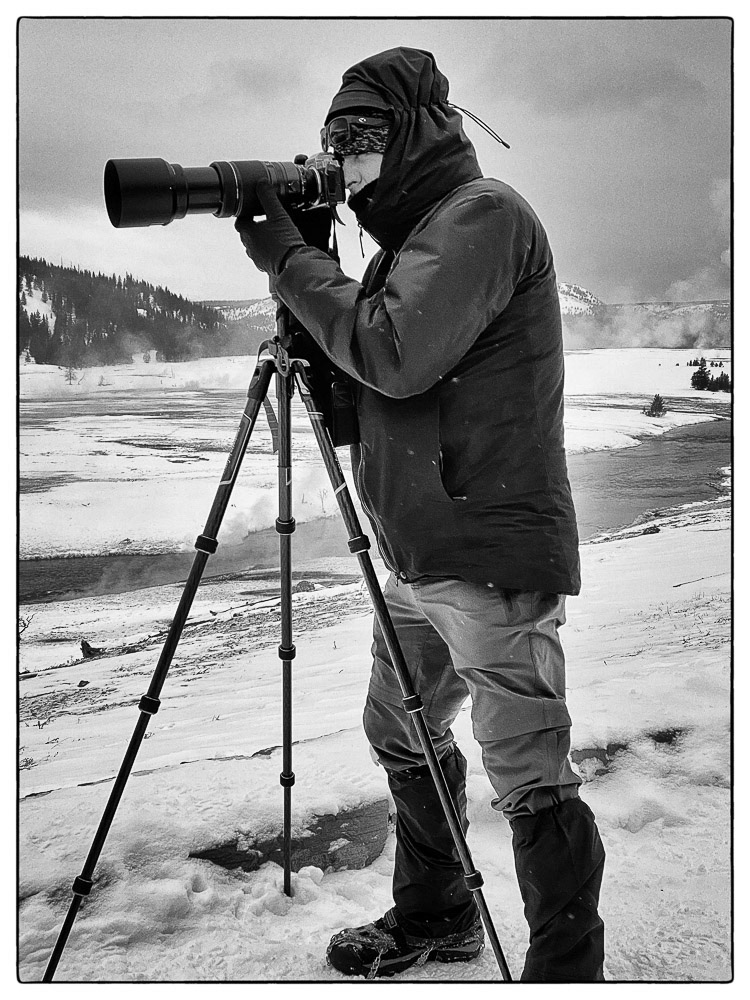
Photo Credit: Michael S Miller
Photo Credit: Michael S Miller

Photo Credit: Michael S Miller

Photo Credit: Michael S Miller